- Remove From My Forums
-
Question
-
I am attempting to install .NET 3.5 Framework on a Windows 2012 Essentials server but am running into the following error: HRESULT = 0x80073701 — ERROR_SXS_ASSEMBLY_MISSING
After checking the CBS logs it seems to me that Microsoft-Windows-ServerCore Package~31bf3856ad364e35~amd64~~6.2.9200.16384 is the offending package. Here is a snippet of the logs:
2014-12-03 15:57:55, Info CBS Failed to resolve execution chain. [HRESULT = 0x80073701 — ERROR_SXS_ASSEMBLY_MISSING]
2014-12-03 15:57:55, Error CBS Failed to process single phase execution. [HRESULT = 0x80073701 — ERROR_SXS_ASSEMBLY_MISSING]
2014-12-03 15:57:55, Info CBS WER: Generating failure report for package: Microsoft-Windows-ServerCore-Package~31bf3856ad364e35~amd64~~6.2.9200.16384, status: 0x80073701, failure source:
Resolve, start state: Installed, target state: Installed, client id: DISM Package Manager Provider
2014-12-03 15:57:55, Info CBS Not able to query DisableWerReporting flag. Assuming not set… [HRESULT = 0x80070002 — ERROR_FILE_NOT_FOUND]
2014-12-03 15:57:55, Info CBS Added C:WindowsLogsCBSCBS.log to WER report.I have attempted fixes on the following blogs:
Cannot install .NET Framework 3.5 features on Windows Server 2012
http://www.dbi-services.com/index.php/blog/entry/winows-server-2012-r2-failed-to-install-net-framework-35
http://www.danielclasson.com/install-net-framework-35-server-2012/
None of the above links have fixed my issue.
Answers
-
Hi Joe,
àI have run sfc
/scannow, it reported that it had found and fixed some issues.After
sfc /scannow command ran, did you install .Net Framework 3.5 again? Any difference?àIt seems like
this, Microsoft-Windows-ServerCore Package~31bf3856ad364e35~amd64~~6.2.9200.16384, is the package thats the issueI also think that the issue may be caused by this package. Would you please use the inbox Deployment Image Servicing
and Management (DISM) tool and check if can help you? The tool will verify the integrity of the files that are located in those folders
(%SYSTEMROOT%ServicingPackages
and
%SYSTEMROOT%WinSxSManifests) and replace the incorrect data.Fix Windows corruption errors by using the DISM or System Update
Readiness toolIf any update, please feel free to let me know.
Hope this helps.
Best regards,
Justin Gu
Please remember to mark the replies as answers if they help and unmark them if they provide no help. If you have feedback for TechNet Support, contact tnmff@microsoft.com.
-
Proposed as answer by
Sunday, December 14, 2014 4:03 PM
-
Edited by
MedicalSMicrosoft contingent staff
Wednesday, December 24, 2014 7:40 AM
mistype -
Marked as answer by
MedicalSMicrosoft contingent staff
Wednesday, December 24, 2014 7:40 AM
-
Proposed as answer by
Contents
- What Is ERROR_SXS_ASSEMBLY_MISSING on Windows 10?
- How to Fix the Error 0x80073701 on Windows 10
- Run the Windows Update troubleshooter
- Restart Windows Update services
- Find faulty system files and replace them
- Reset the Winsock component
- Flush your DNS cache
- Release and renew your IP address
- Reset your Hosts file
- Reset Windows Update components
- Step 1: Stop the Windows Update services
- Step 2: Delete the qmgr*.dat files
- Step 3: Rename the Catroot2 and SoftwareDistribution folders
- Step 4: Reset the Windows Update and Background Intelligent Transfer services to their default settings
- Step 5: Reregister Windows Update-related files
- Step 6: Remove incorrect registry entries
- Step 7: Restart the Windows Update services
- Perform a clean boot
- Conclusion

The error 0x80073701 is one of those Windows Update errors that show up when the client fails to download and install updates. It’s also known as ERROR_SXS_ASSEMBLY_MISSING in technical terms.
If you’ve been struggling with this problem, just keep reading – in this article, you’ll find fixes that will show you how to get rid of it and complete your update.
What Is ERROR_SXS_ASSEMBLY_MISSING on Windows 10?
The error is an indication that the Windows Update client cannot find some files. While this could be the case, other underlying problems could be triggering the problem. The causes of the issue include, but are not limited to, the following:
- Malfunctioning Windows Update services
- Corrupt system files
- Application interference
- Network connection problems
- Problematic Windows Update components
How to Fix the Error 0x80073701 on Windows 10
You can get rid of the problem by fixing its root causes. While each solution below will show you how to fix the Windows update error 0x80073701, only the ones that resolve the particular issues that exist on your computer will work. So, apply them one after the other until the error disappears.
Run the Windows Update troubleshooter
Your first step should be running Microsoft’s dedicated tool for resolving update-related problems. The utility is designed to check for common issues that trigger errors and perform routine activities, such as restarting Windows Update services and resolving app conflicts.
Running the troubleshooter involves going through the Settings application. After scanning for problems, the tool will apply fixes to the issues it finds.
Follow these steps:
- Go to the Settings application by tapping Win + I. You can also summon the app by right-clicking the Start button and clicking on Settings in the Power User menu.

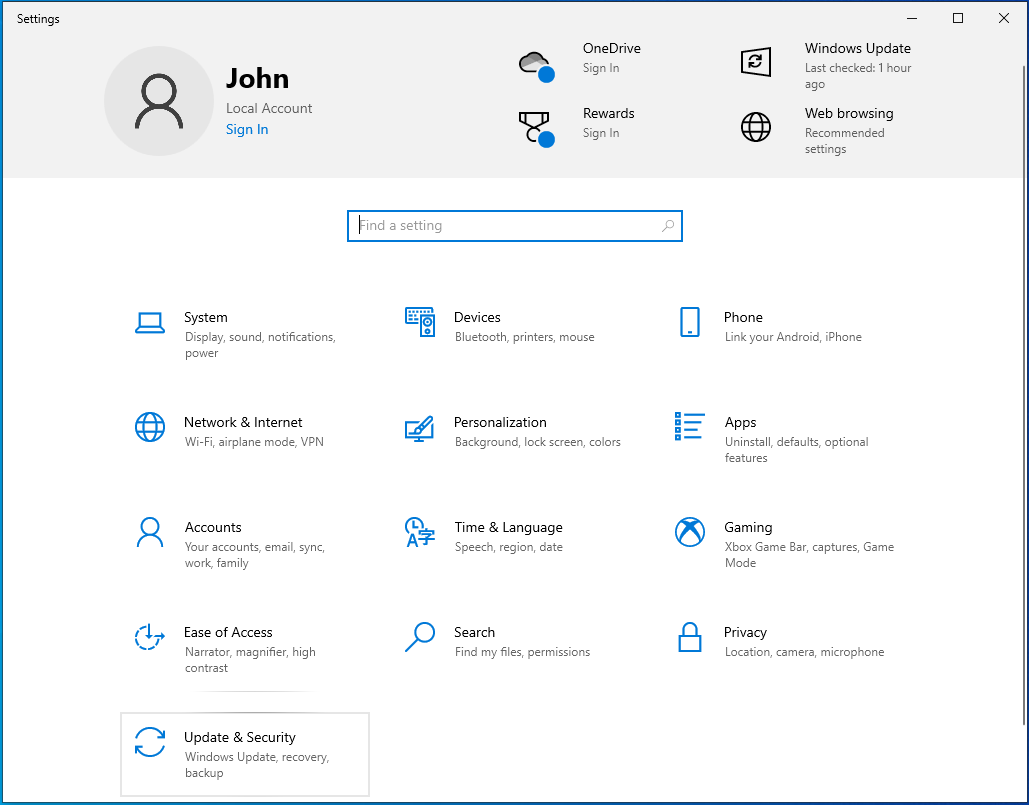
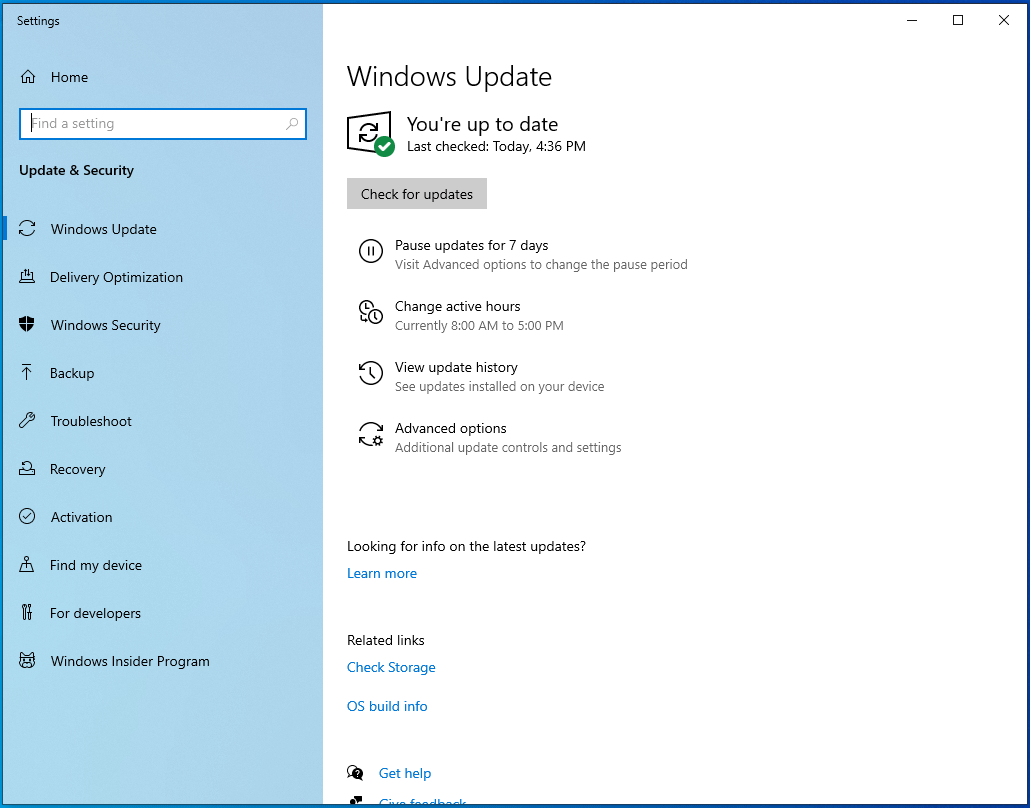
- Click on the Update & Security icon after the Settings window shows up.

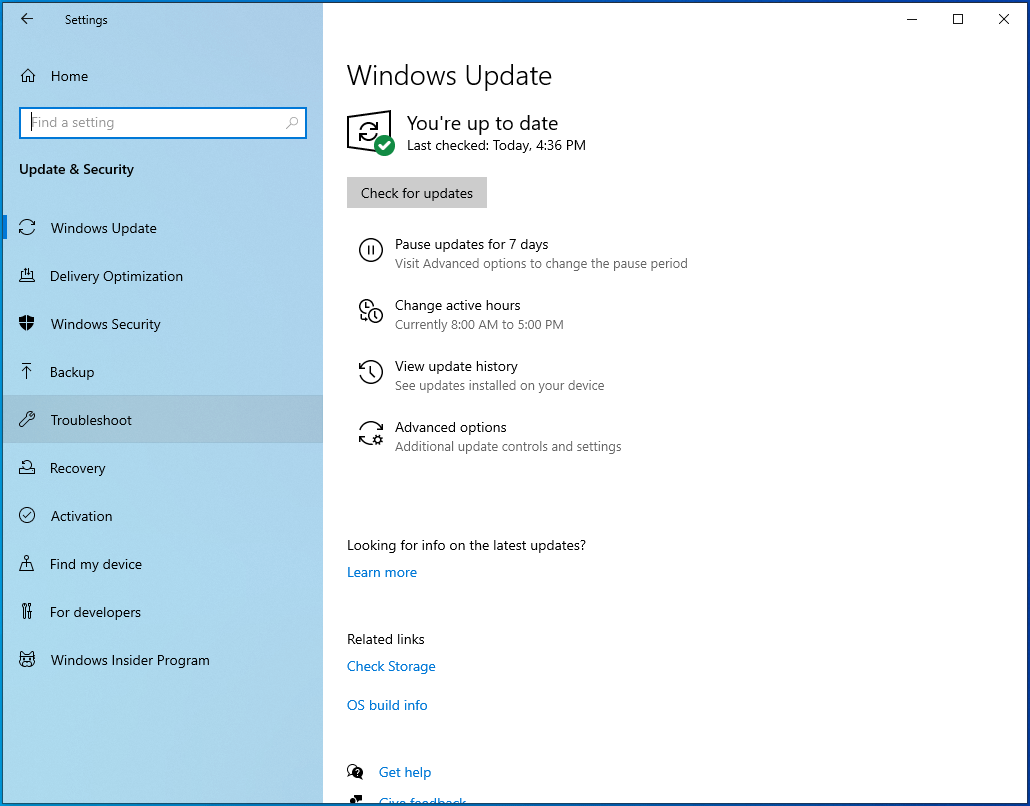
- After the Windows Update page shows up, go to the left side of the window and click on “Troubleshoot.”
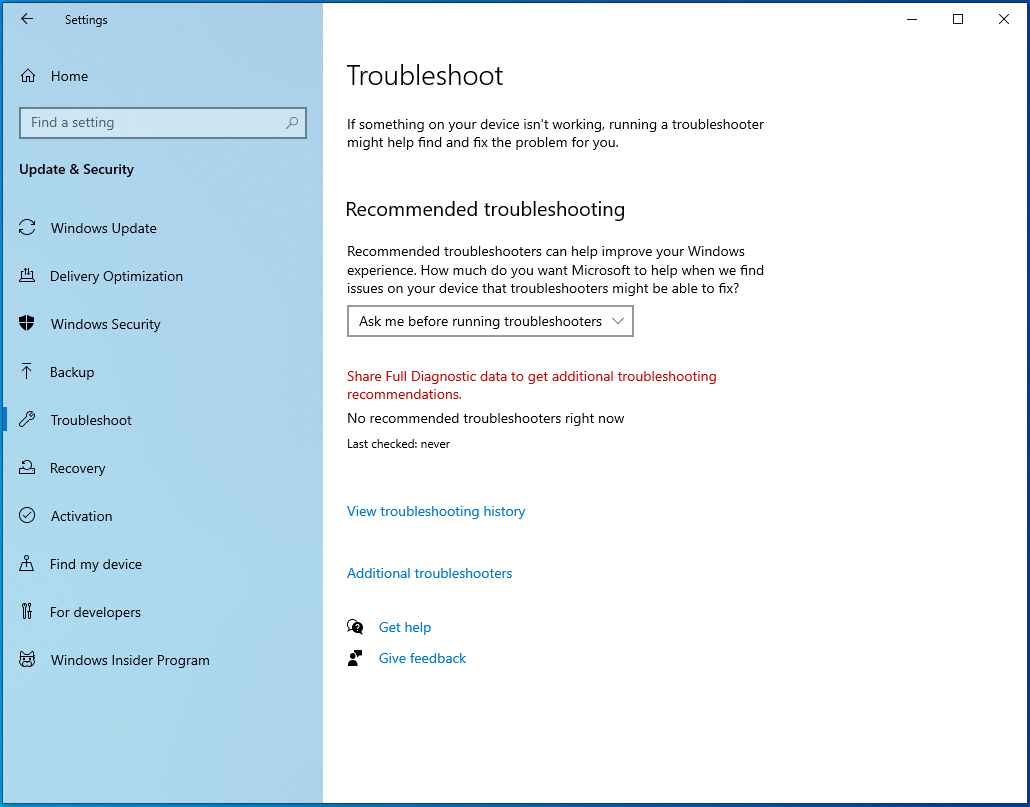
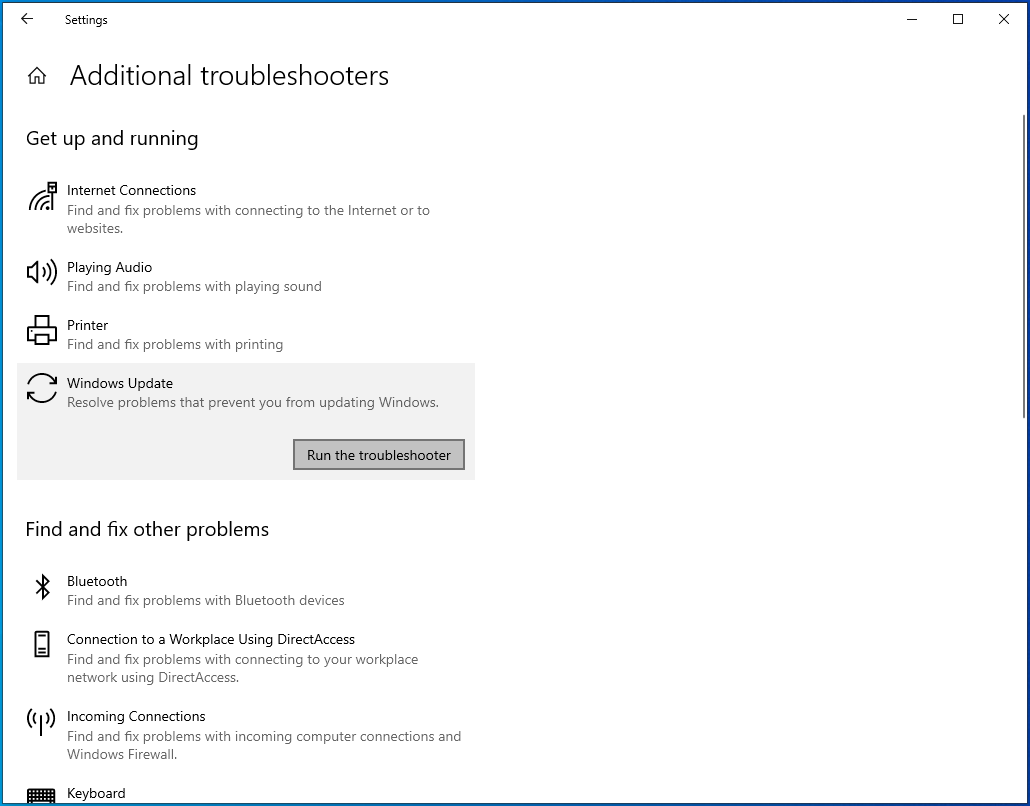
- Go to the Troubleshoot tab and click on Additional Troubleshooters.

- Next, click on Windows Update.
- Now, click on “Run the Troubleshooter.”
- Allow the tool to scan for problems. Once it’s done, it will show you the issues it found, if any, and allow you to apply the necessary fixes.
- After the process completes, restart your system and check for the problem.

Restart Windows Update services
Specific Windows services are critical to the update process. If they stop or malfunction for any reason, the client will fail to download and install updates.
These services are as follows:
The Windows Installer service
is a vital component of Windows. The update process will fail if this service malfunctions or stops running.
The Windows Update Service (WSUS)
is the service in charge of downloading and installing updates.
The Background Intelligent Transfer Service (BITS)
allows the Windows Update client to use idle network bandwidth to download updates. If the service malfunctions, the client will lack access to your system’s network and fail to download or install updates.
The Update Orchestrator Service (UsoSVC)
kick-starts the download process, just as its name suggests.
Sometimes, the services could be stuck, and you’ll have to restart them to get them to function again. We’ll show you how to restart the services through the Services app and using the Command Prompt.
You have to make sure the above services are running and set to Automatic.
Here is how to use the Services app:
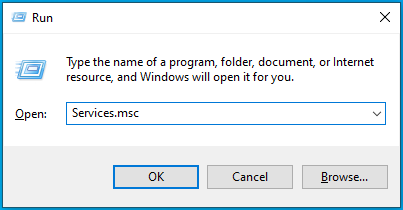
- Right-click Start and select Run from the Power User menu. You can also open Run by pressing Win + R.

- After Run opens, type “Services.msc” into the text box and click OK.
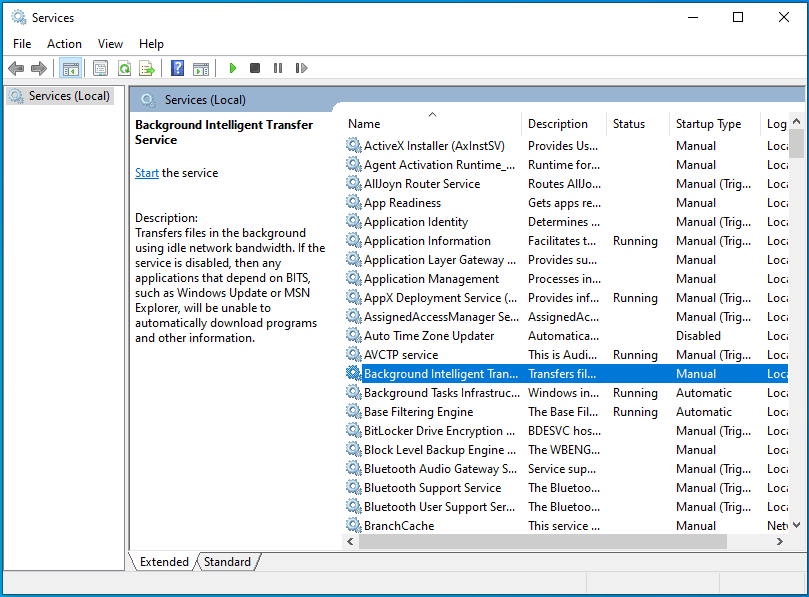
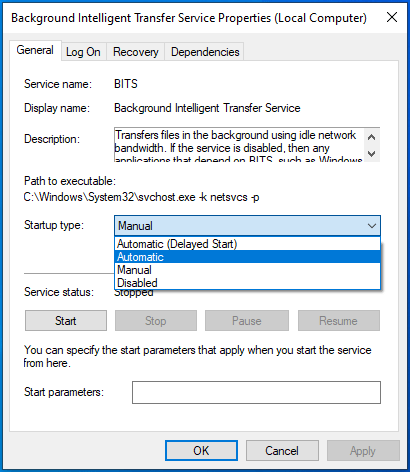
- Once the Services application opens, double-click the Background Intelligent Transfer Service.

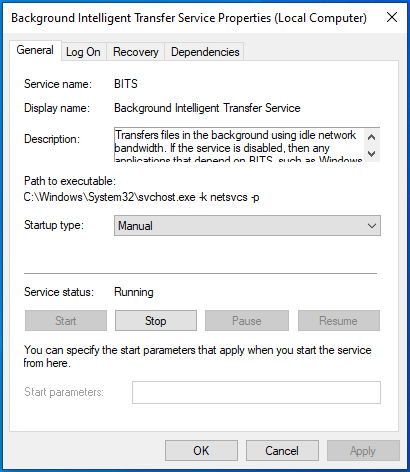
- After the Properties dialog box for the service opens, click on Stop if the service is running.

- Next, go to the Startup Type drop-down menu and select Automatic.
- Click on Start, then click OK.
- Repeat Steps 2 to 5 for other services.
- Once the services start running, try updating your system.

Here is how to use the Command Prompt:
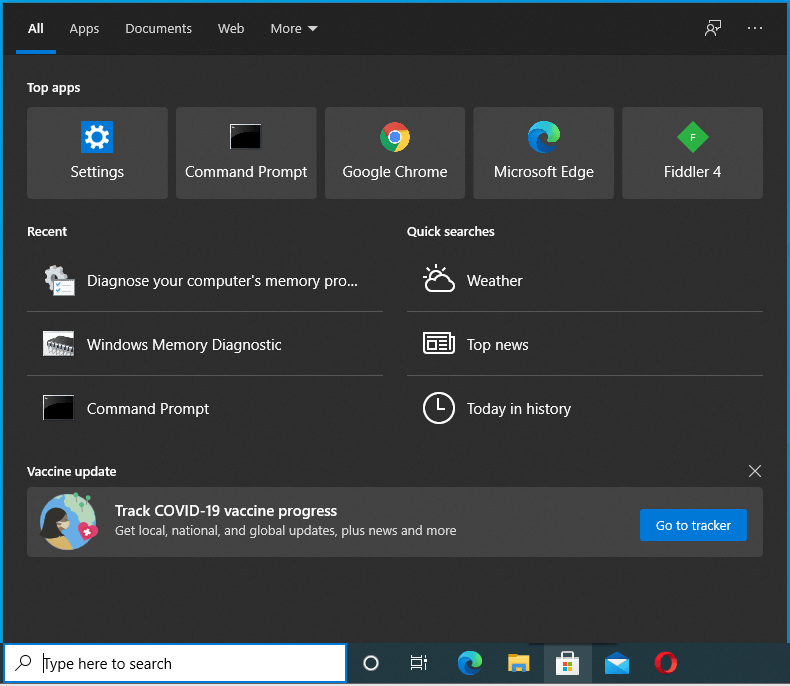
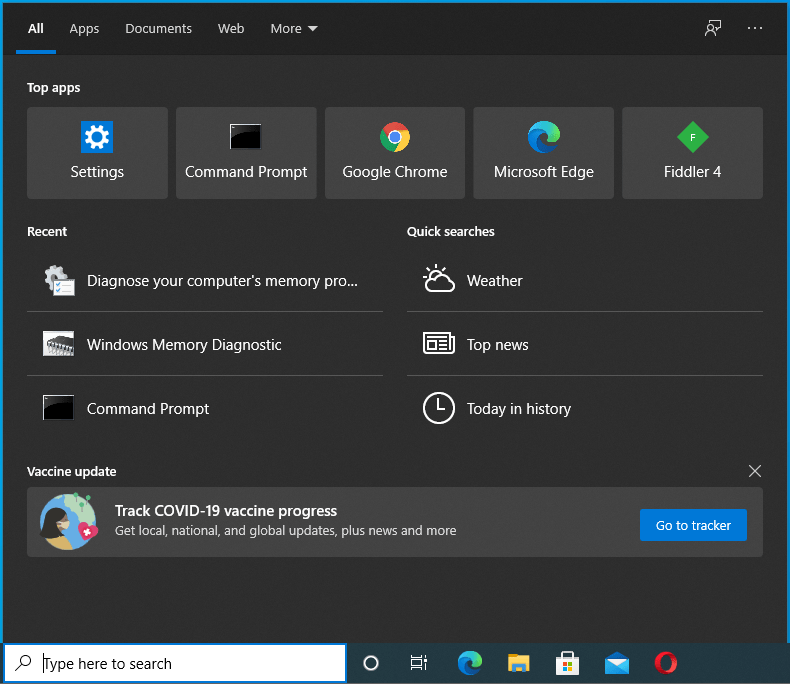
- Open the Search utility beside the Start button by pressing the Win + S keyboard shortcut or clicking the magnifying glass icon in the taskbar.

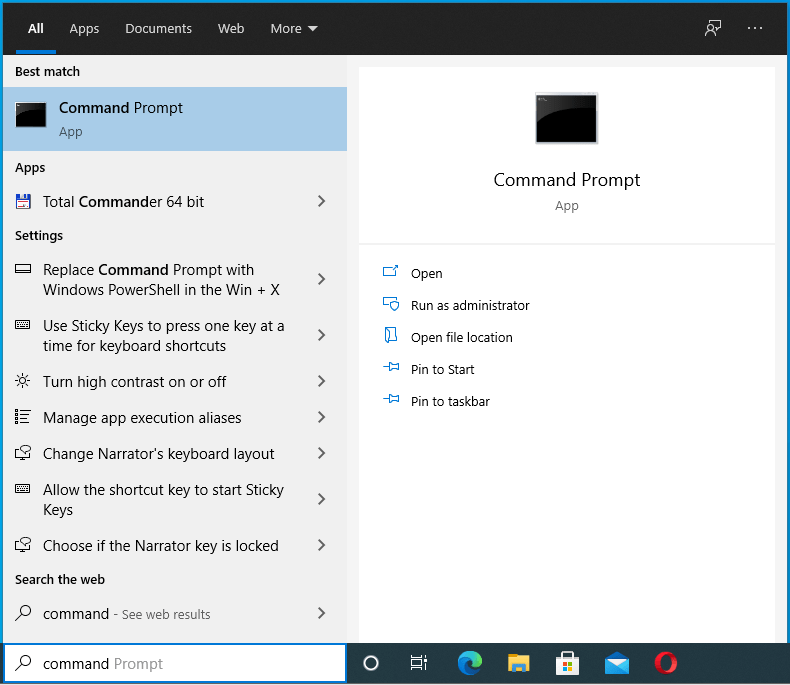
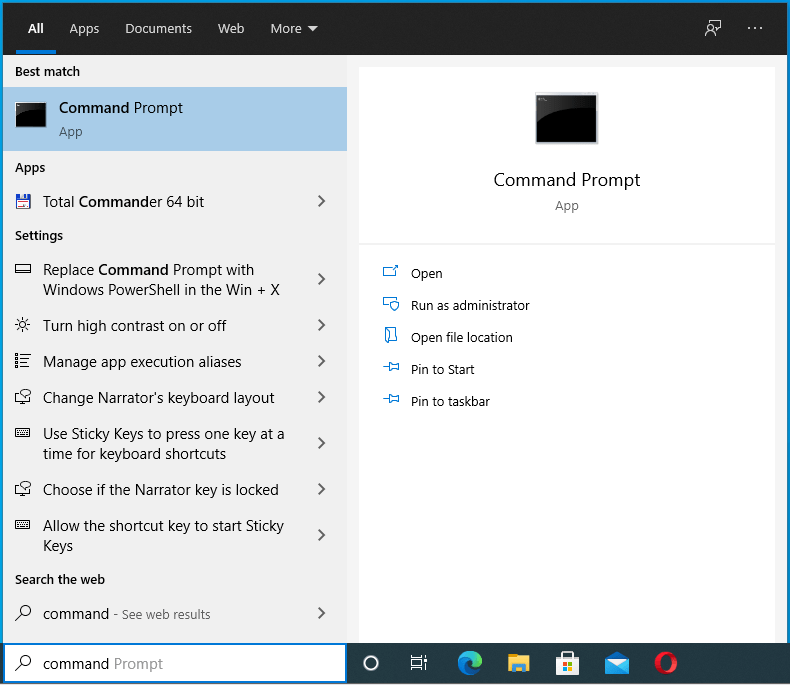
- Enter “command” into the search bar once it appears.

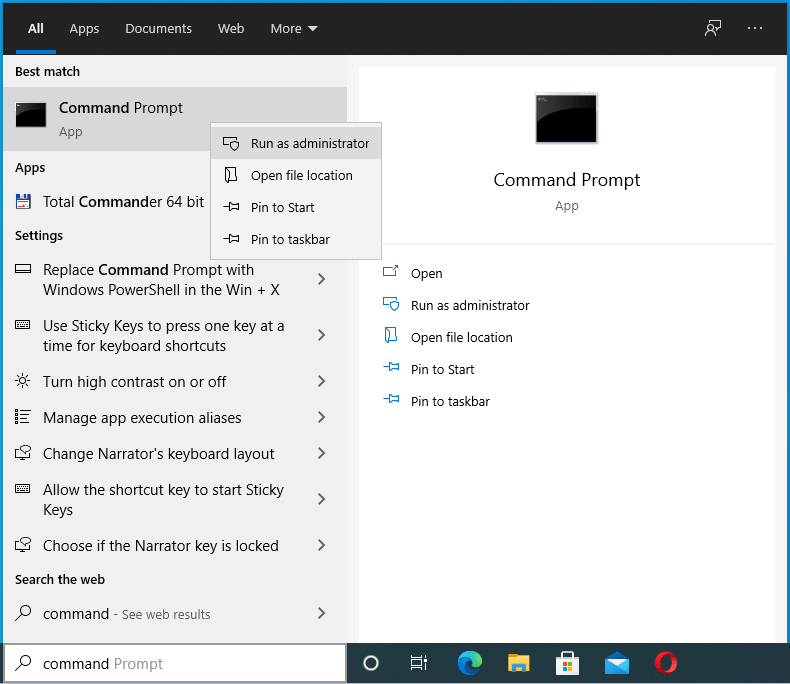
- After you see Command Prompt in the results, right-click it and click on “Run as Administrator”.

- Next, click on Yes after the User Account Control dialog window shows up and asks for permission.

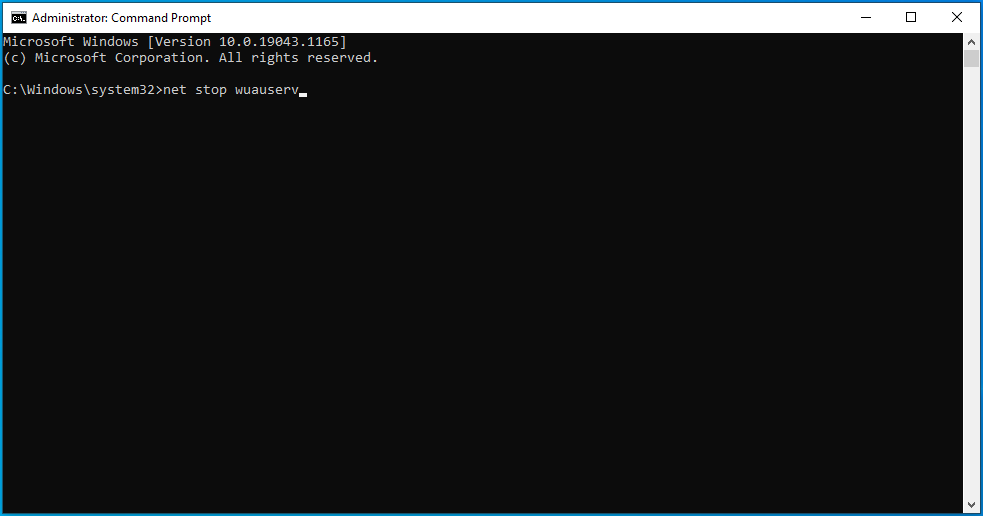
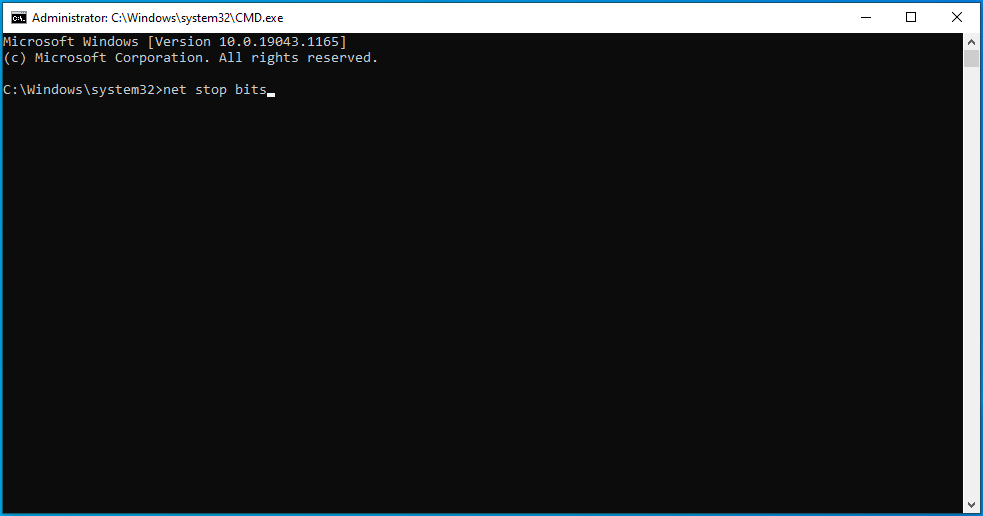
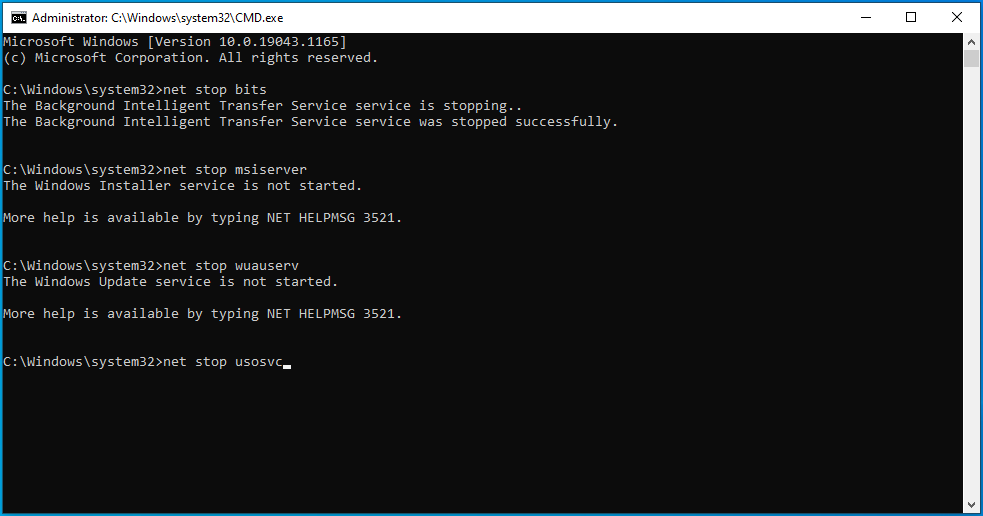
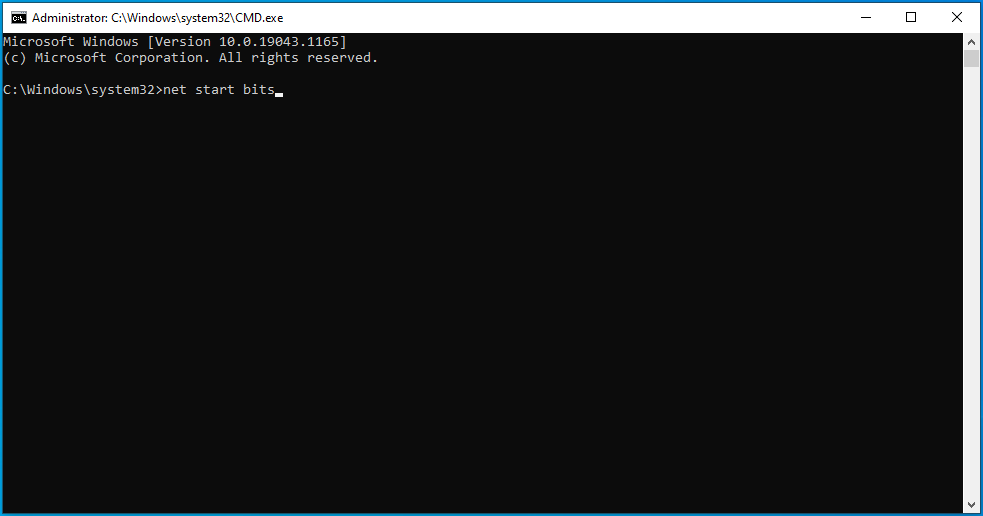
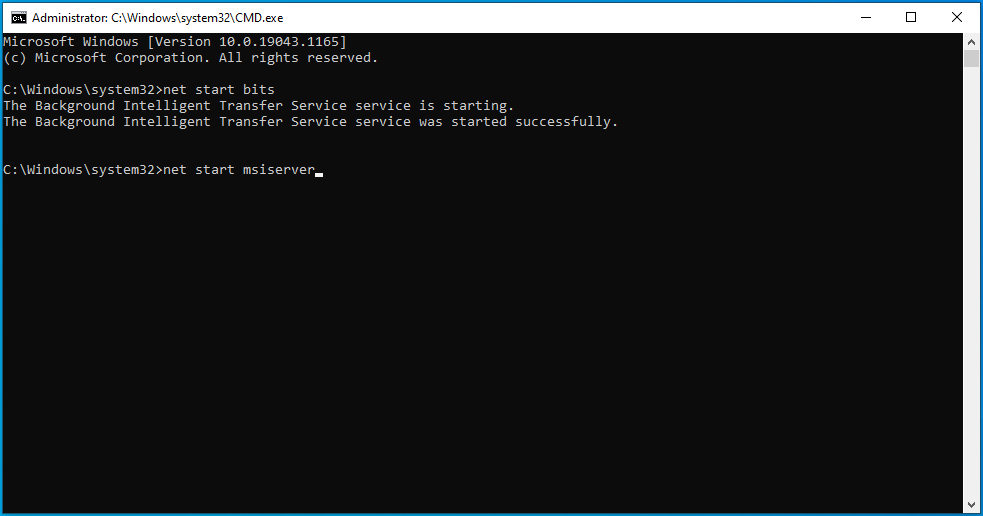
- After that, type these lines one after the other into the Command Prompt and tap the Enter key after entering each line:

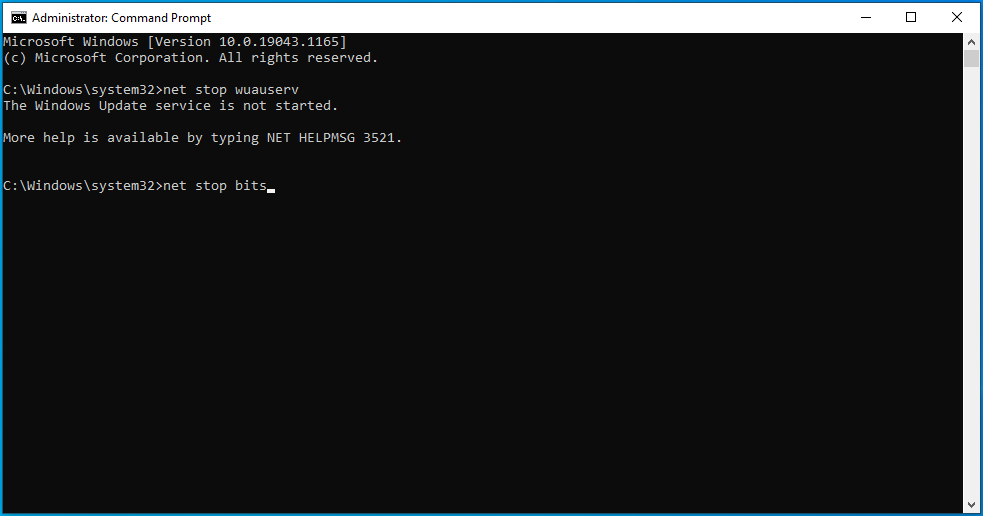
net stop wuauserv
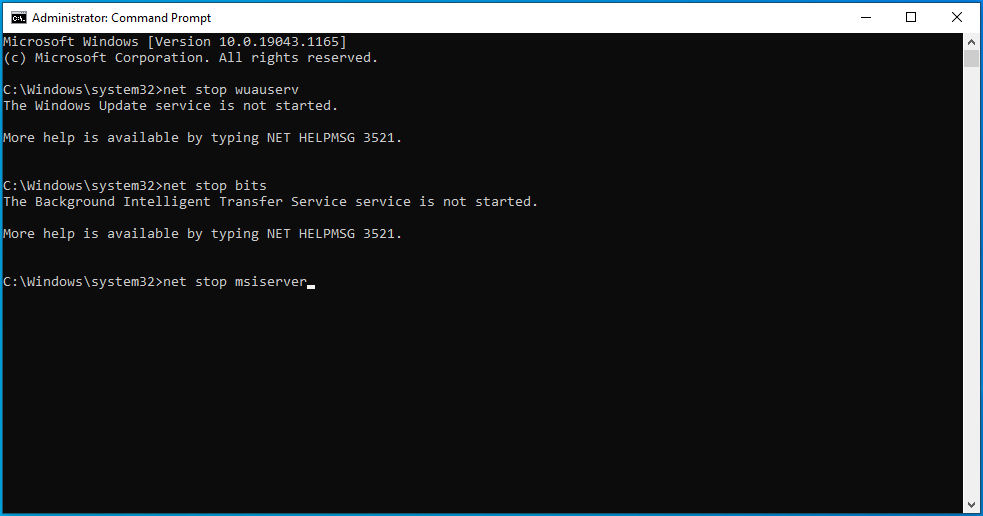
net stop bits
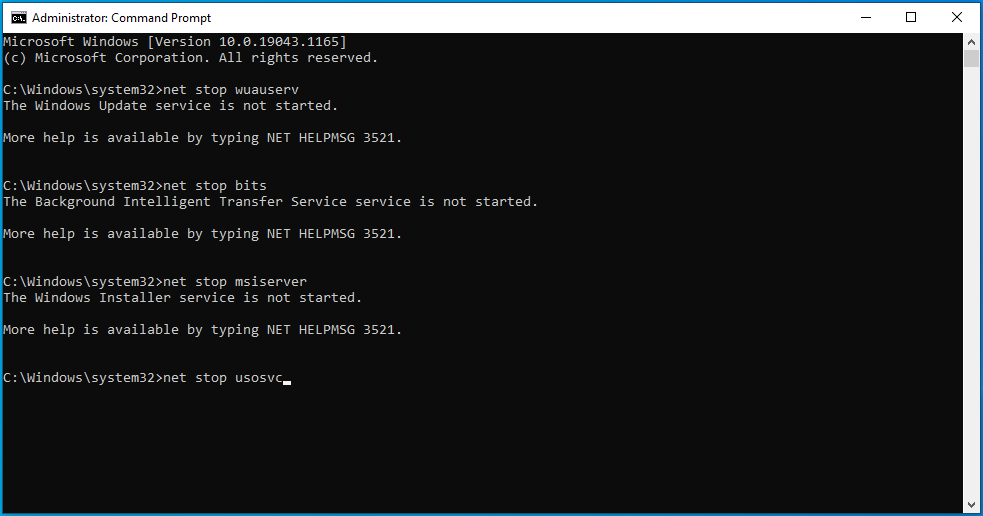
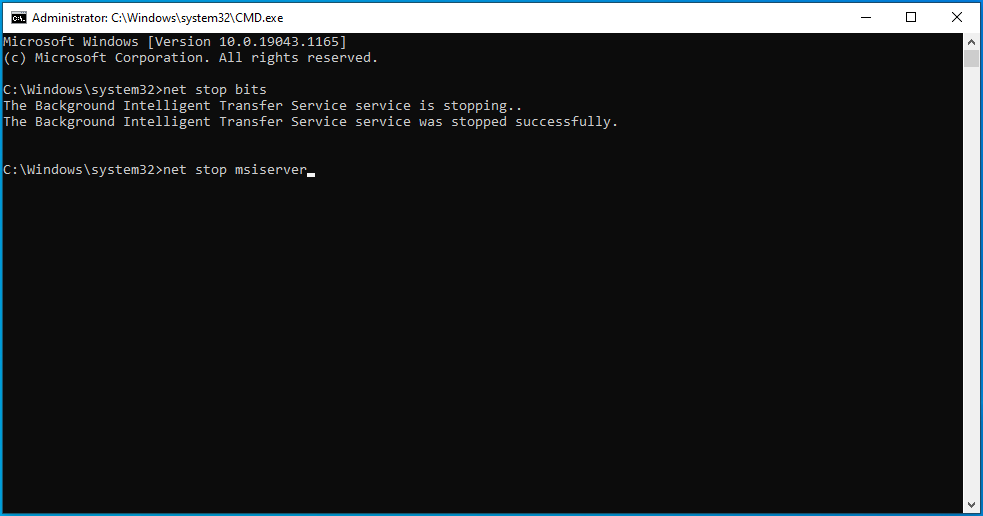
net stop msiserver
net stop usosvc
- After entering each command, you’ll get a message stating that the corresponding service has been stopped.
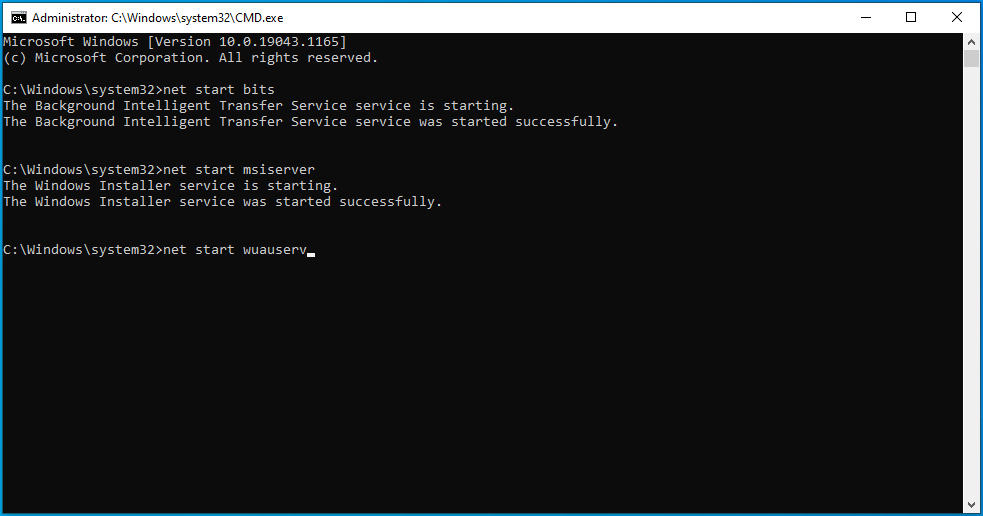
- After that, type the following commands and hit Enter after typing each line to restart the services:
net start wuauserv
net start bits
net start msiserver
net start usosvc
Find faulty system files and replace them
The Windows Update client will keep producing the error if there are missing or corrupt system files on your PC. You’ll have to find the problematic files and replace them using the System File Checker (SFC) tool.
The SFC tool is a built-in command-line program used to find and replace missing or corrupt system files. Before you run it, you have to provide the replacement files using the DISM (Deployment Image Servicing and Management) tool. DISM is another built-in program that can be used to repair, mount, and maintain image files. You can also run it to provide repair files for the System File Checker.
These steps will show you the process:
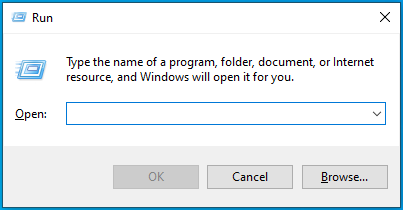
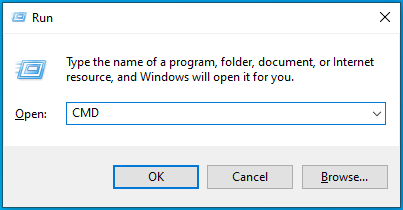
- On your taskbar, right-click the Start button and click on Run once the Quick Access menu appears. Press the Windows logo key + R combination to launch the program faster.
- After Run shows up, type “CMD” (no quotes), and tap Ctrl + Shift + Enter.
- Select the Yes option once the User Account Control dialog window pops up and requests permission to run the Command Prompt as an administrator.

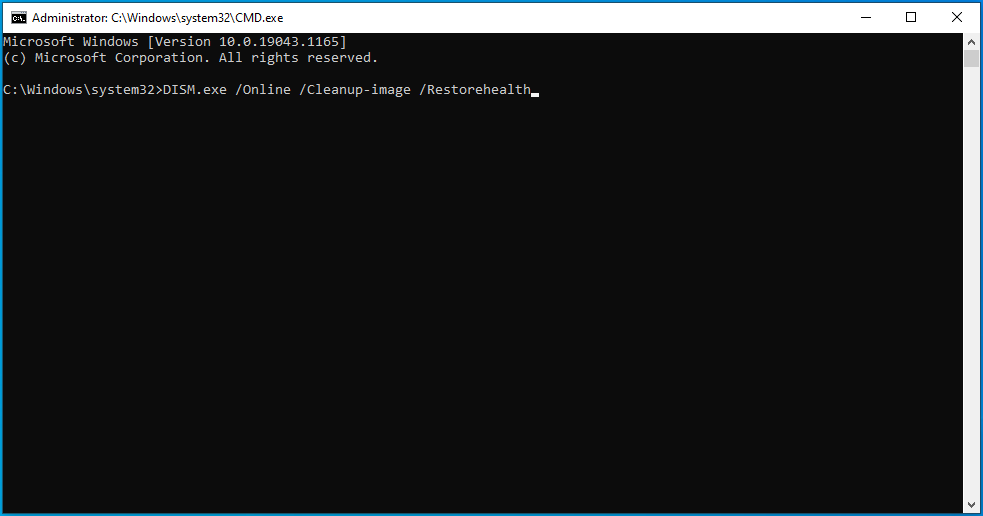
- When you see the Administrator: Command Prompt window, type this line into the black screen and tap the Enter button to run the DISM tool:

DISM.exe /Online /Cleanup-image /Restorehealth
The Deployment Image Servicing and Management tool will now attempt to fetch the repair files using the Windows Update client.
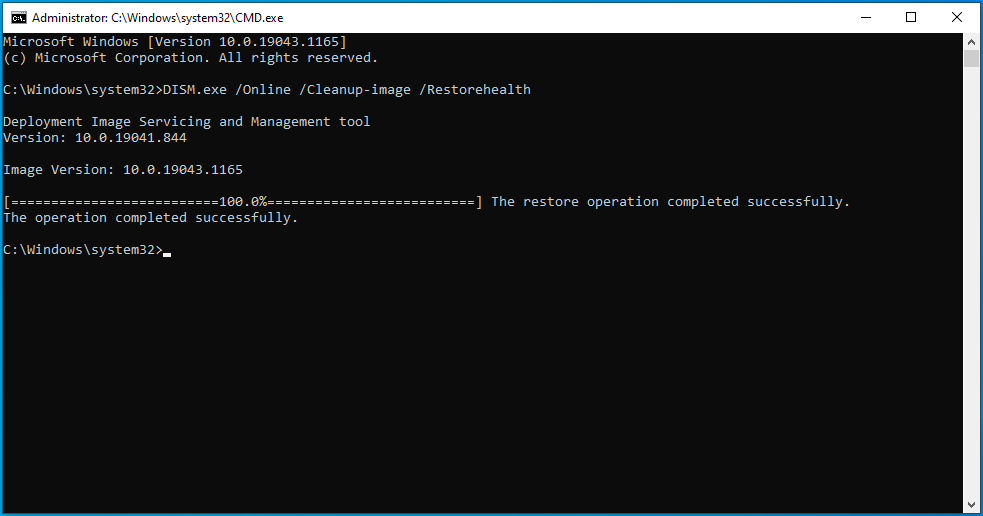
However, since the client isn’t functioning correctly, you’ll have to go for a different repair source.
You can use a Windows 10 DVD or bootable USB flash drive. A Windows ISO file mounted as a virtual DVD should also work. Ensure you remember the path to the Windows folder of the repair source you want to use.
Insert or connect the DVD or bootable USB and run the following command:
DISM.exe /Online /Cleanup-Image /RestoreHealth /Source:C:SourceWindows /LimitAccess
Note: C:SourceWindows represents the path to the Windows folder on the repair source that you’re using. Replace it accordingly before entering the command.
Allow the command to execute before you move on to the next step.
- After that, type “sfc/ scannow” (don’t add the quotes) into the Command Prompt window and hit the Enter key.
- If you see a scan result that reads, “Windows Resource Protection found corrupt files and successfully repaired them,” restart your computer and try running the update.
If you see a message that reads, “Windows Resource Protection could not perform the requested operation,” it means you have to run the System File Checker in Safe Mode:
Reset the Winsock component
The Windows Update client might be showing the error due to a connection problem caused by a faulty Winsock component. The Winsock (Windows Socket) component is a dynamic link library file that holds network configurations that many apps depend on to connect to the internet. Malicious scripts might have compromised the file on your system, and it’s possible that it now contains the wrong configurations. Resetting the component will get rid of these problems and restore your system’s default configurations.
Follow these steps:
- Open the Search utility beside the Start button by pressing the Win + S keyboard shortcut or clicking the magnifying glass icon in the taskbar.
- Enter “command” into the search bar once it appears.
- After you see Command Prompt in the results, right-click it and click on “Run as Administrator”.
- Next, click on Yes after the User Account Control dialog window shows up and asks for permission.
- After that, type the following line into the Command Prompt window and hit the Enter key:


netsh winsock reset
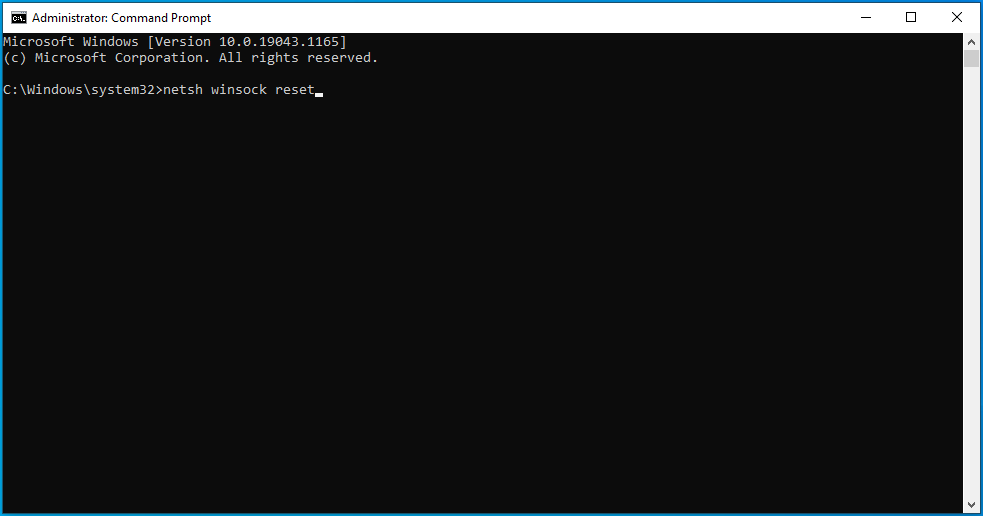
Windows will now clear the parameters in the Winsock component and reset the DLL file.
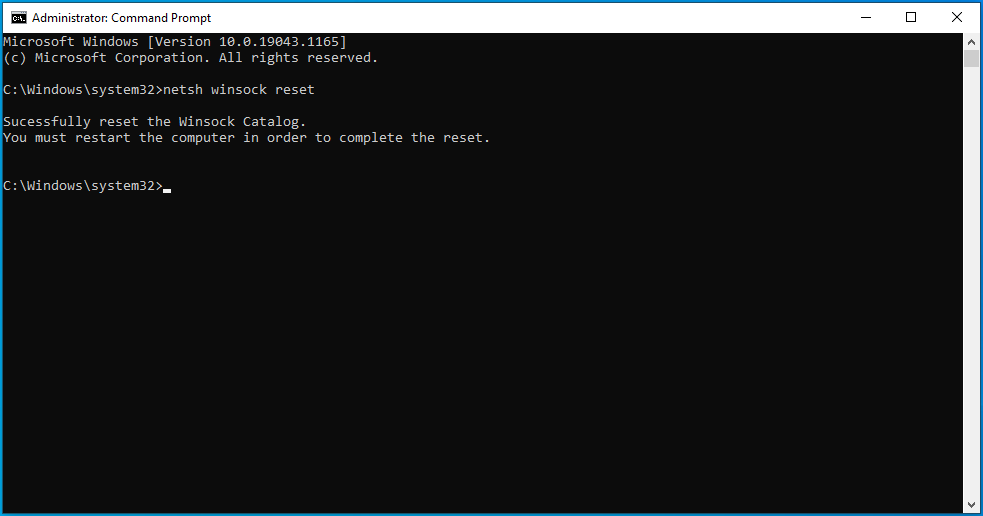
Once the command executes successfully, reboot your PC and try running your update.
Flush your DNS cache
Instead of using a DNS server to resolve every website domain name, your computer saves the IP addresses and domain names of the websites you visit in a DNS cache. This way, it can quickly look at the cache to match a domain name with its IP address, making things run faster.
Problems begin to occur when websites change their IP addresses, leaving the information in your cache outdated. This could affect the entire cache and cause connection problems. In addition, the DNS cache could have also been infected by malware.
To fix the issue, you have to flush the cache to allow your system to build a new one.
These steps will show you how to do that:
- Use the Win + R keyboard combo to open Run or right-click the Start button and select Run from the menu.
- Once Run shows up, type “CMD” and press Shift + Ctrl + Enter.
- Select the Yes option after the User Account Control menu pops up and requests permission to allow the Command Prompt to launch as an administrator.

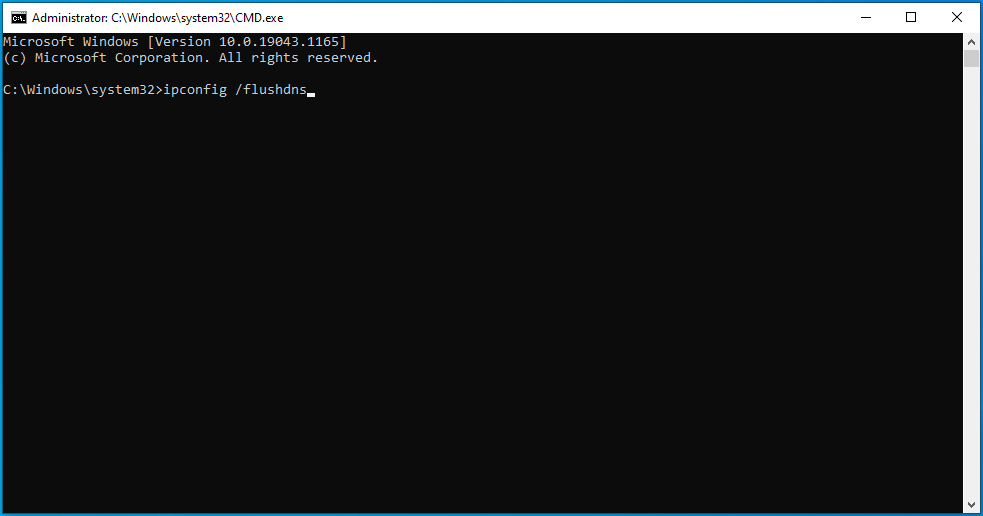
- When you see the Administrator: Command Prompt window, type this line into the black window and punch the Enter button:


ipconfig /flushdns
Release and renew your IP address
Since a network connection problem can cause the error, the connection failure may result from an expired DHCP IP address.
Every IP address a router assigns to a device has a lease time. If the device doesn’t use the IP address throughout the lease period, the router considers it inactive and reassigns the IP address to another device.
To get your system a new, working IP address, you have to release your current IP and request a new one.
These steps will show you how to do that:
- Use the Win + R keyboard combo to open Run or right-click the Start button and select Run from the menu.
- Once Run shows up, type “CMD” and press Shift + Ctrl + Enter.
- Select the Yes option after the User Account Control menu pops up and requests permission to allow the Command Prompt to launch as an administrator.
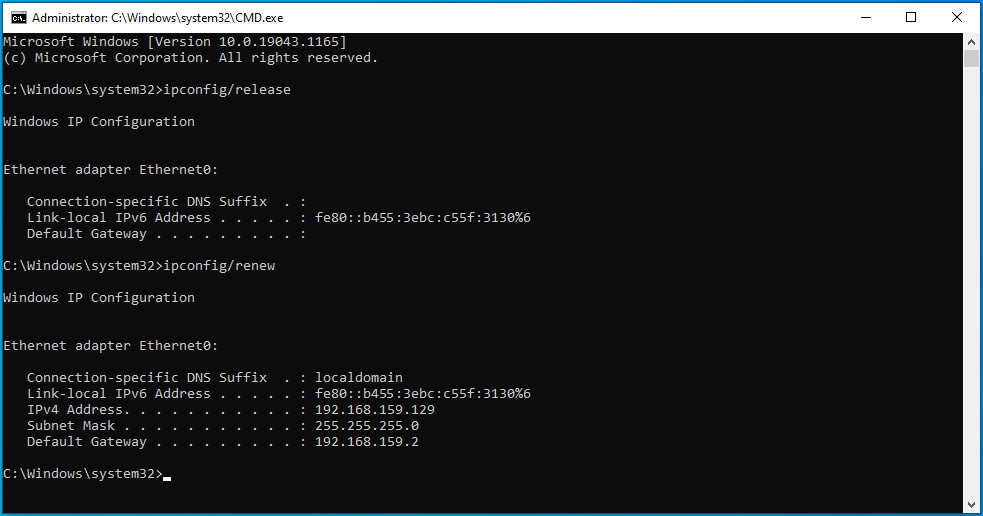
- When you see the Administrator: Command Prompt window, type these lines into the black window and punch the Enter button after entering each line:


ipconfig/release

ipconfig/renew
Reset your Hosts file
Your Hosts file is another critical network component. It’s a text file that helps match hostnames to their IP addresses. When the file becomes corrupt or contains the wrong parameters, it affects the computer’s network connection.
The Windows Update error could be a result of a bad Hosts file. In this case, resetting the file to its default state will resolve the network connection problem.
Here’s how to do that:
- Open the Windows search interface by clicking the magnifying glass icon in the taskbar or pressing Win + S.
- Type “notepad” after the search box appears.
- Click on Notepad in the search results.
- Once Notepad shows up, copy and paste the following into the new text file:
# Copyright (c) 1993-2006 Microsoft Corp. # # This is a sample HOSTS file used by Microsoft TCP/IP for Windows. # # This file contains the mappings of IP addresses to host names. Each # entry should be kept on an individual line. The IP address should # be placed in the first column followed by the corresponding host name. # The IP address and the host name should be separated by at least one # space. # # Additionally, comments (such as these) may be inserted on individual # lines or following the machine name denoted by a ‘#’ symbol. # # For example: # # 102.54.94.97 rhino.acme.com # source server # 38.25.63.10 x.acme.com # x client host # localhost name resolution is handle within DNS itself. # 127.0.0.1 localhost # ::1 localhost
- Go to the File menu in the top-left corner of the Notepad window and click on Save As.
- Go to the File Name text box in the Save As dialog window and type “hosts” (don’t add the quotes).
- Navigate to the desktop and click on the Save button.
- Next, press Win + E to open a File Explorer window.
- Once the window shows up, click on the address bar, copy and paste the following line, and tap the Enter button:
%WinDir%System32DriversEtc
- Once you see the ETC folder, right-click on the Hosts file and select Rename. Change the name of the file to Hosts.old.
- Now, go to your desktop and copy the new Hosts file you created to the ETC folder.
Reset Windows Update components
If you still can’t get the Windows Update client to work, consider resetting every update-related component.
Follow these steps carefully:
Step 1: Stop the Windows Update services
It’s important that you stop the Windows Update services, as that’s the only way to get access to the components that you’re about to reset. Follow these steps:
- Use the Win + R keyboard combo to open Run or right-click the Start button and select Run from the menu.
- Once Run shows up, type “CMD” and press Shift + Ctrl + Enter.
- Select the Yes option after the User Account Control menu pops up and requests permission to allow the Command Prompt to launch as an administrator.

- When you see the Administrator: Command Prompt window, type these lines into the black window and punch the Enter button after entering each line:


net stop bits
net stop msiserver
net stop wuauserv
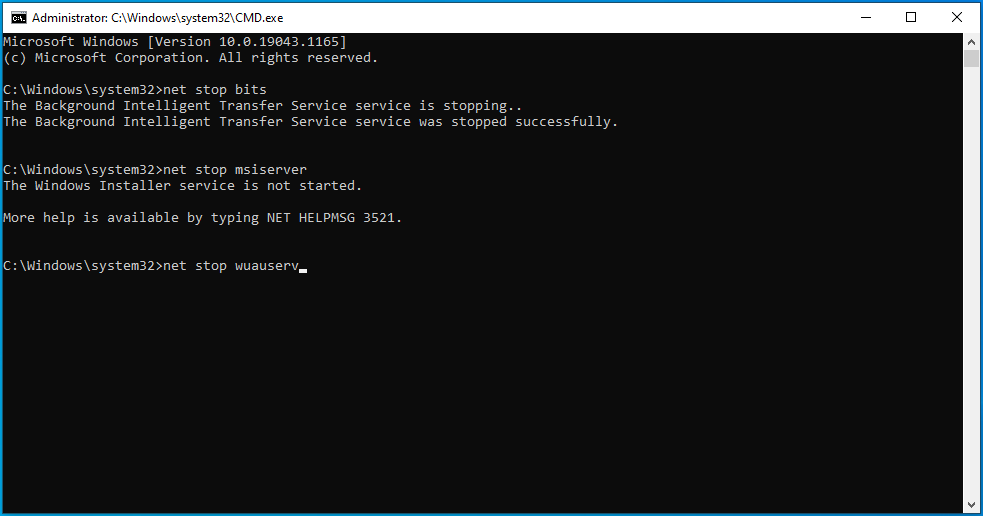
net stop usosvc
Step 2: Delete the qmgr*.dat files
Head to the next line in the Command Prompt window, type the line below, and hit the Enter key:
Del “%ALLUSERSPROFILE%Application DataMicrosoftNetworkDownloaderqmgr*.dat”
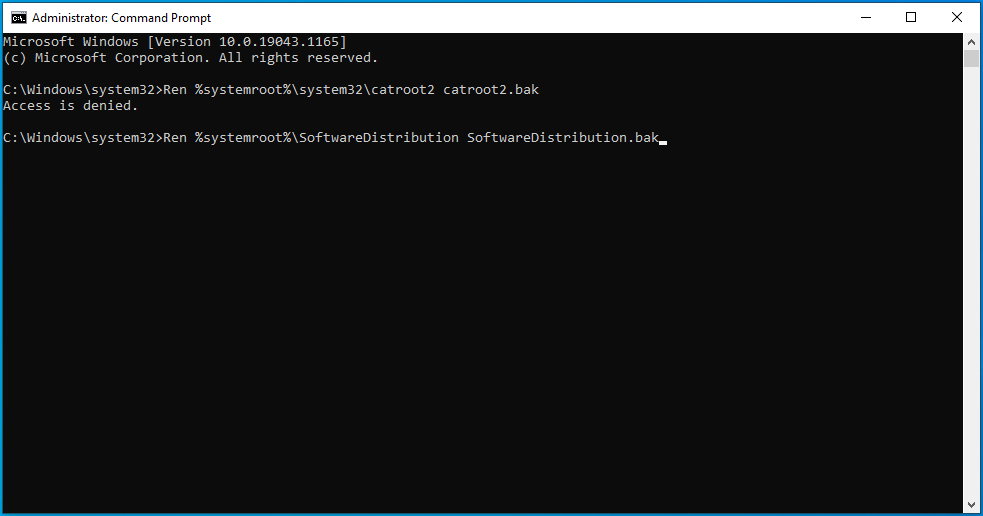
Step 3: Rename the Catroot2 and SoftwareDistribution folders
Renaming these folders will force the Windows Update client to create new ones and restart the update process. The error might be a result of corrupt files blocking the download process. Go to a new line in the Command Prompt window, type these lines, and hit the Enter keyboard button after typing each:
Ren %systemroot%system32catroot2 catroot2.bak
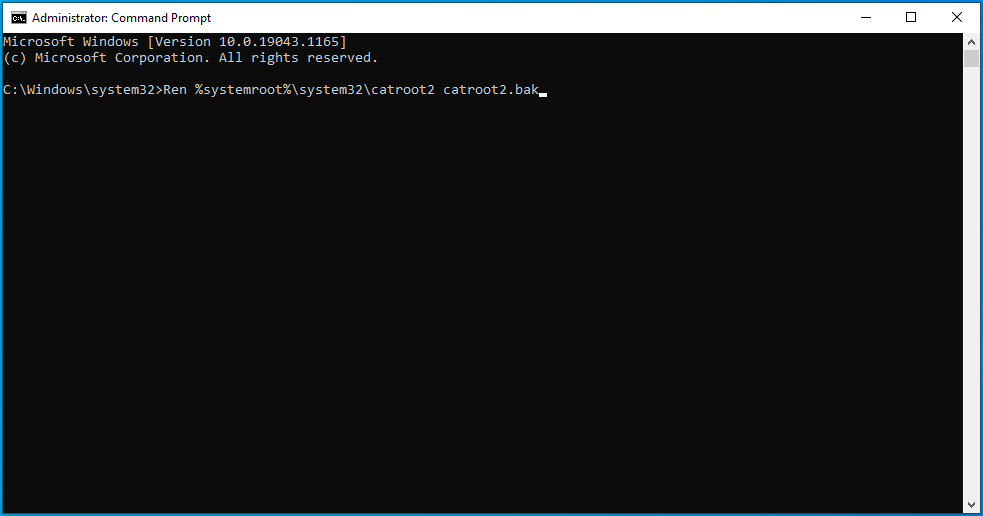
Ren %systemroot%SoftwareDistribution SoftwareDistribution.bak
Step 4: Reset the Windows Update and Background Intelligent Transfer services to their default settings
Head to a new Command Prompt line and type or copy and paste the following line and hit the Enter button:
sc.exe sdset wuauserv D:(A;;CCLCSWRPWPDTLOCRRC;;;SY)(A;;CCDCLCSWRPWPDTLOCRSDRCWDWO;;;BA)(A;;CCLCSWLOCRRC;;;AU)(A;;CCLCSWRPWPDTLOCRRC;;;PU)
Go to the next line, type the following command, and punch the Enter key:
sc.exe sdset bits D:(A;;CCLCSWRPWPDTLOCRRC;;;SY)(A;;CCDCLCSWRPWPDTLOCRSDRCWDWO;;;BA)(A;;CCLCSWLOCRRC;;;AU)(A;;CCLCSWRPWPDTLOCRRC;;;PU)
- Go to a new Command Prompt line, type the line below, and hit Enter to go to the System32 folder:
cd /d %windir%system32
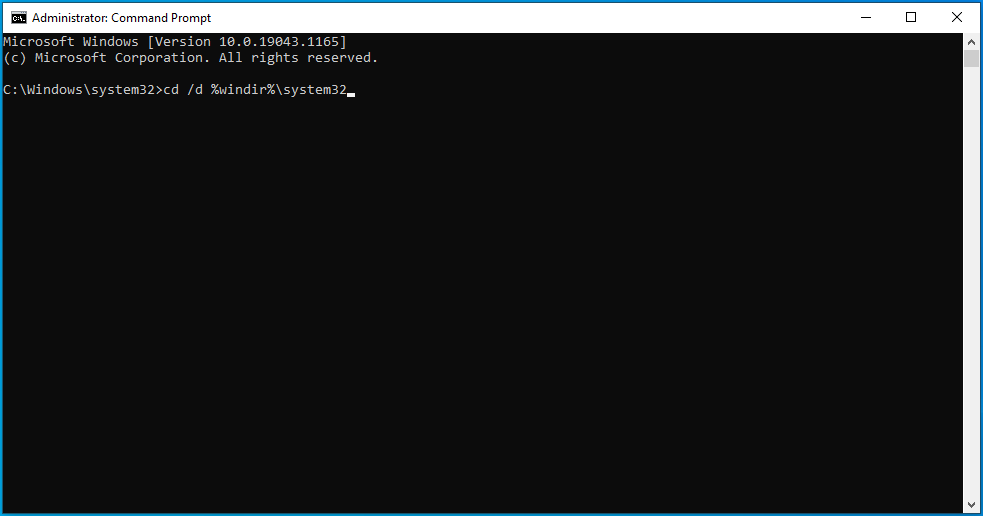
- Type the lines below one after the other and hit the Enter key after typing each line:
regsvr32.exe atl.dll
regsvr32.exe urlmon.dll
regsvr32.exe mshtml.dll
regsvr32.exe shdocvw.dll
regsvr32.exe browseui.dll
regsvr32.exe jscript.dll
regsvr32.exe vbscript.dll
regsvr32.exe scrrun.dll
regsvr32.exe msxml.dll
regsvr32.exe msxml3.dll
regsvr32.exe msxml6.dll
regsvr32.exe actxprxy.dll
regsvr32.exe softpub.dll
regsvr32.exe wintrust.dll
regsvr32.exe dssenh.dll
regsvr32.exe rsaenh.dll
regsvr32.exe gpkcsp.dll
regsvr32.exe sccbase.dll
regsvr32.exe slbcsp.dll
regsvr32.exe cryptdlg.dll
regsvr32.exe oleaut32.dll
regsvr32.exe ole32.dll
regsvr32.exe shell32.dll
regsvr32.exe initpki.dll
regsvr32.exe wuapi.dll
regsvr32.exe wuaueng.dll
regsvr32.exe wuaueng1.dll
regsvr32.exe wucltui.dll
regsvr32.exe wups.dll
regsvr32.exe wups2.dll
regsvr32.exe wuweb.dll
regsvr32.exe qmgr.dll
regsvr32.exe qmgrprxy.dll
regsvr32.exe wucltux.dll
regsvr32.exe muweb.dll
regsvr32.exe wuwebv.dll
Step 6: Remove incorrect registry entries
Specific registry entries are known to get in the way of the Windows Update client. The guide below shows you how to get rid of them. However, you should note that tampering with important registry information could cause system instability. So, make sure you follow the steps below carefully to avoid causing problems.
These steps will show you the entries to remove and how to remove them:
- Open the Windows search interface by clicking the magnifying glass icon in the taskbar or pressing Win + S.
- Type “Regedit” or “registry editor” after the search box appears.
- Click on Registry Editor in the search results.
- Select the Yes option once the User Account Control dialog window pops up and requests permission.
- After the Registry Editor shows up, switch to the left pane and browse to HKEY_LOCAL_MACHINECOMPONENTS.
- Find the following keys under COMPONENTS and delete them:
PendingXmlIdentifier
NextQueueEntryIndex
AdvancedInstallersNeedResolving
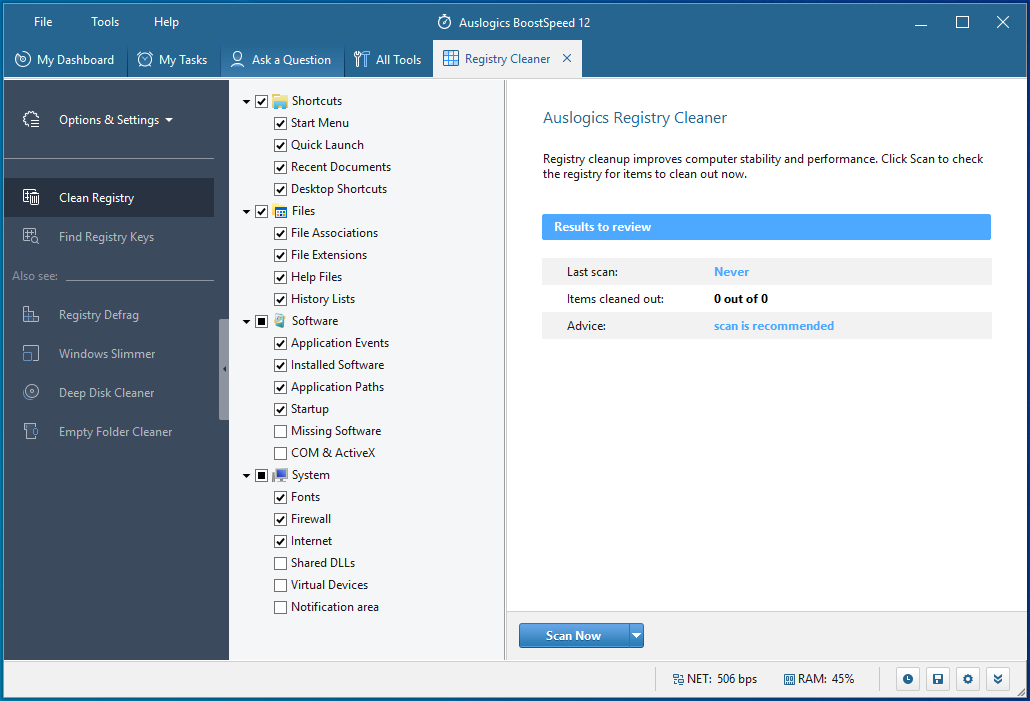
Tip:You can use Auslogics BoostSpeed’s Registry Cleaner to keep problematic registry keys away from your computer. The program does an excellent job of sanitizing the registry without causing problems.
Step 7: Restart the Windows Update services
- Use the Win + R keyboard combo to open Run or right-click the Start button and select Run from the menu.
- Once Run shows up, type “CMD” and press Shift + Ctrl + Enter.
- Select the Yes option after the User Account Control menu pops up and requests permission to allow the Command Prompt to launch as an administrator.

- When you see the Administrator: Command Prompt window, type these lines into the black window and punch the Enter button after entering each line:

net start bits
net start msiserver
net start wuauserv
net start usosvc

Restart your computer and try running the update.
Perform a clean boot
A third-party application could be forcing the Windows Update client to produce the error in question. You can put an end to the issue by stopping that application using the clean boot process.
When you start your system in a clean boot environment, you prevent startup applications from running on your PC.
Follow these steps to perform a clean boot and check whether the update error in question shows up again:
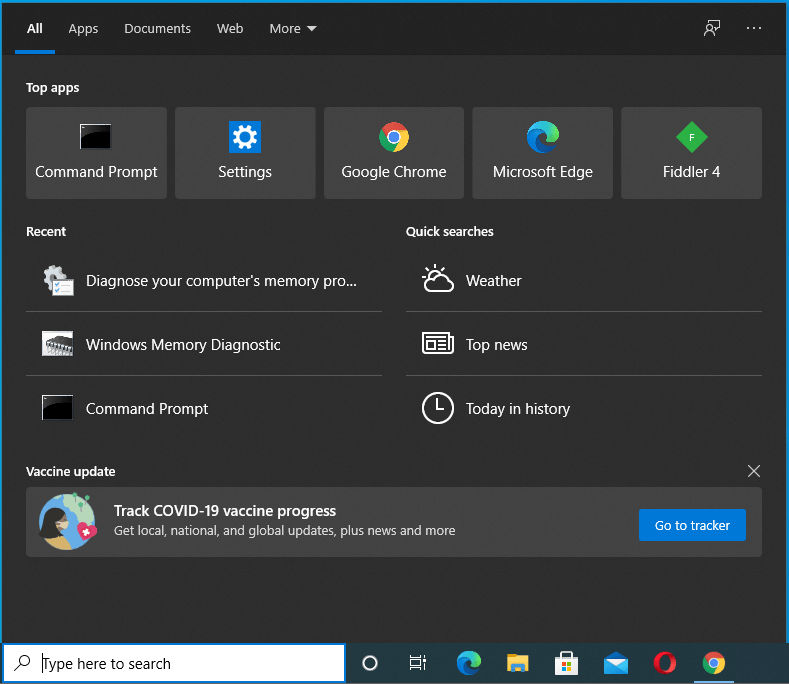
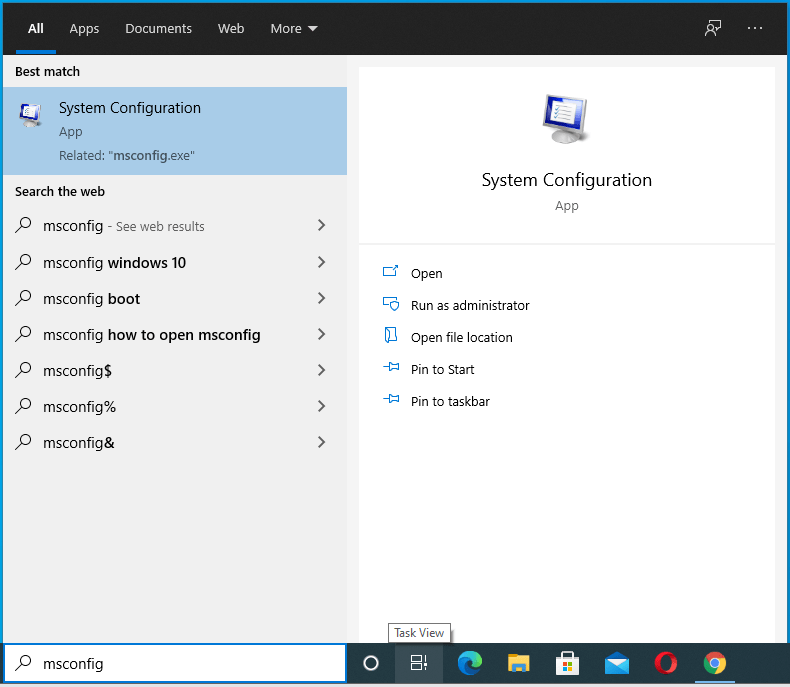
- Open the Windows search interface by clicking the magnifying glass icon in the taskbar or pressing Win + S.

- Type “msconfig” or “system configuration” after the search box appears.

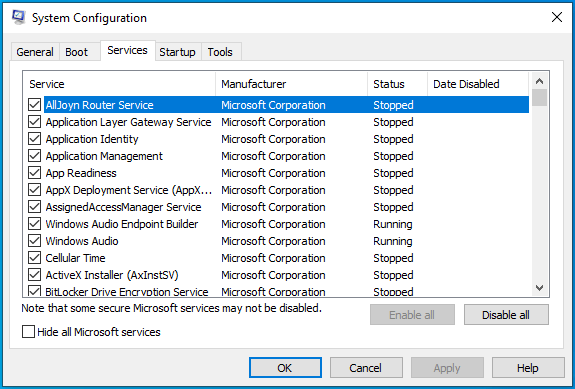
- Click on System Configuration in the search results.
- Switch to the Services tab when you see the System Configuration dialog window pop up.

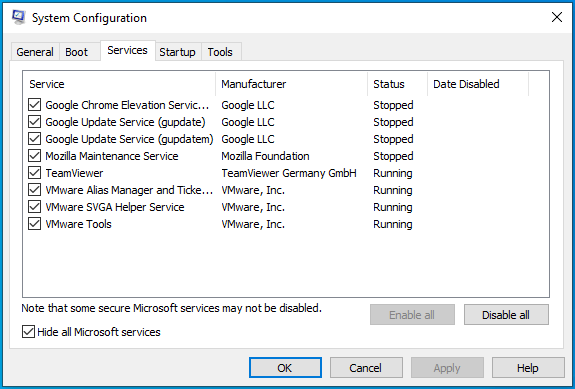
- Mark the “Hide all Microsoft services” box in the bottom-left corner of the window.
- Next, click on the Disable All button to prevent the services listed under the tab from launching after you restart your computer.
- After that, switch to the Startup tab of the System Configuration dialog and click on “Open Task Manager”.
- The Startup tab of the Task Manager will now come up.
- Click on each program and click on Disable.
- Exit the Task Manager and return to the System Configuration dialog.
- Click on the OK button.
- Now, restart your system and run Windows Update.

- If the error doesn’t show up, you just confirmed that one of the apps you prevented from running at startup is the cause of the update error.
- You now have to find the responsible startup service or program.
- Enable one of the services, restart your system and check for the error. If the error shows up after you enable the first service, then it is the culprit. If the error doesn’t show up, however, enable the next service and check again. Continue going through the services one after the other until one of them triggers the error.
If that process is stressful, enable half of the services at once and restart your system to check for the error. If the error comes up after turning on any half of the services, ignore the other half. Instead, check the services from the group that triggered the error one after the other.
Conclusion
That’s how to resolve the Windows Update installation error 0x80073701. If you still see the error whenever you try to update your system, you can head to Microsoft’s website to use the Media Creation Tool or reinstall Windows on your computer.
Ошибка 0x80073701 обычно наблюдается при попытке установить свежие обновления Windows. За ошибкой следует сообщение, в котором говорится, что Windows не удалось установить обновление. Многие пользователи на форумах сообщили, что это связано с накопительными обновлениями, выпущенными для систем на базе Windows 10 версии 1903/1607 x64 или x86. Список обновлений, вызывающих такие проблемы, включает KB4512508, KB3206632, KB4507453, KB3213986 и другие аналогичные патчи. Ошибка 0x80073701 также обозначается как ERROR_SXS_ASSEMBLY_MISSING, что свидетельствует о связи с системными файлами. Есть вероятность, что некоторые из них отсутствуют и приводят к сбоям в работе обновления. Чтобы найти походящее решение проблемы с обновлением, обязательно выполните каждый шаг из приведенных ниже инструкций.

Скачать средство восстановления Windows
Скачать средство восстановления Windows

Существуют специальные утилиты для восстановления Windows, которые могут решить проблемы, связанные с повреждением реестра, неисправностью файловой системы, нестабильностью драйверов Windows. Мы рекомендуем вам использовать Advanced System Repair Pro, чтобы исправить «Ошибка Центра обновления Windows 0x80073701» в Windows 10.
1. Воспользуйтесь средством устранения неполадок Центра обновления Windows
При решении проблем, связанных с обновлением, самое первое и простое, что можно попробовать — это средство устранения неполадок Windows — утилита для решения проблем, которая уже встроена в вашу систему. Чтобы воспользоваться ею, выполните шаги, указанные ниже.
- Откройте настройки, как мы делали выше, и перейдите в Обновление и безопасность > Устранение неполадок.
- На правой панели найдите Центр обновления Windows и нажмите Запустить средство устранения неполадок.
- Завершите процесс, следуя инструкциям на экране, и перезагрузите компьютер.
2. Отключите / удалите стороннее ПО.
Стороннее программное обеспечение, такое как антивирус, может вызывать некоторые сбои в службах Windows. Иногда антивирусы могут ошибаться и блокировать подозрительный процесс, запущенный в вашей системе. По какой-то причине даже службы Windows могут стать частью этого списка. Поскольку мы не можем проверить так ли это без ручного вмешательства, попробуйте отключить сторонний антивирус, если он у вас установлен. Также стоит отметить, что нежелательные или вредоносные программы также могут вести к похожим последствиям. Если вы помните, что недавно устанавливали какое-то новое ПО, попробуйте удалить его и снова загрузить обновление. Если вы не знаете, как правильно избавиться от вредоносных программ, мы рекомендуем загрузить качественный и проверенный антивирус, разработанный Malwarebytes (используйте кнопку ниже).
Скачать Malwarebytes
3. Установите необходимое обновление в безопасном режиме.
Вместо удаления стороннего ПО, которое вызывает конфликт с обновлениями Windows, вы можете запустить свой компьютер в безопасном режиме. Эта функция загрузит вашу систему только с настройками конфигурации по умолчанию, что предотвратит взаимодействие сторонних программ с процессами Windows. Вот как:
- Откройте Настройки через Меню Пуск или нажмите Windows + I вместе.
- Откройте Обновление и безопасность > Восстановление > Особые варианты загрузки.
- Затем нажмите Перезагрузить сейчас.
- Ваша система будет перезагружена и запустится в Среда восстановления Windows.
- Находясь там, выберите Устранение неполадок > Дополнительные параметры > Параметры загрузки.
- Теперь нажмите Перезагрузка , а затем выберите Включить безопасный режим с загрузкой сетевых драйверов после перезагрузки.
- Находясь в Безопасный режим, попробуйте установить конфликтующее обновление еще раз.
4. Проверьте целостность системных файлов.
Как мы писали в начале, большинство проблем с обновлением часто возникает из-за отсутствия или повреждения файлов. Обычно эти файлы являются жизненно важными компонентами системы, обеспечивающими надлежащую связь между некоторыми службами. Если некоторые из этих файлов отсутствуют, скорее всего, это и станет причиной ошибок обновления. Ниже мы собираемся использовать как SFC (Проверка системных файлов), так и DISM (Обслуживание образов развертывания и управление ими), которые помогут обнаружить и восстановить отсутствующие компоненты. Вот как:
С помощью SFC
- Откройте Командная строка , введя
cmdв поле поиска рядом с Меню Пуск кнопку. - Щелкните правой кнопкой мыши по Командная строка , а затем выберите Запуск от имени администратора.
- После открытия консоли введите
sfc /scannowкоманду и нажмите Enter. - Когда процесс восстановления будет завершен, перезагрузите компьютер.
С помощью DISM
- Откройте Командная строка как мы это делали на предыдущем шаге.
- Скопируйте и вставьте эту команду
DISM.exe /Online /Cleanup-image /Restorehealth. - Нажмите Enter и подождите, пока Windows закончит сканирование и исправление.
- После этого перезагрузите компьютер и снова установите обновление.
После выполнения этих сканирований попробуйте снова установить проблемное обновление. Если это не сработает, переходите к другим шагам, описанным ниже.
5. Перезапустите компоненты и Службу обновления Windows.
Этот метод поможет вам сбросить настройки Центра обновления Windows. Данный способ часто помогает, поскольку перезапускает важные службы с нуля. Вся процедура включает перезапуск служб BITS, Cryptographic, MSI Installer и Windows Update, а также переименование некоторых папок обновлений (SoftwareDistribution и Catroot2). Эти папки содержат специальные подписи для обновлений Windows. Исходя из этого, мы заставим Windows удалить поврежденные элементы и создать компоненты обновления с нуля. Мы будем использовать консоль для выполнения необходимых команд. Это более сложный вариант, но для его выполнения не потребуется много времени и знаний. Просто следуйте инструкциям ниже:
- Откройте Командная строка , введя
cmdв поле поиска рядом с Меню Пуск кнопку. - Щелкните правой кнопкой мыши по Командная строка , а затем выберите Запуск от имени администратора.
- Скопируйте и вставьте этот список команд одну за другой, нажимая Enter после каждой. (Это действие отключит службы, ответственные за Обновления Windows)
- Затем мы должны переименовать вышеупомянутые папки. Просто вставьте эти команды, нажимая Enter после каждой.
- Наконец, все, что осталось сделать, это вернуть отключенные службы. Введите эти команды так же, как мы делали ранее.
- На этом все. Перейдите в центр обновления Windows и попробуйте выполнить установку снова.
net stop wuauserv

net stop cryptSvc

net stop bits

net stop msiserver
ren C:WindowsSoftwareDistribution SoftwareDistribution.old

ren C:WindowsSystem32catroot2 Catroot2.old
net start wuauserv

net start cryptSvc

net start bits

net start msiserver
6. Попробуйте загрузить конфликтующее обновление из каталога Microsoft.
Иногда у Windows может возникнуть проблема с получением KB обновлений с самого сервера. Если ничто другое не помогает, можно предположить, что причина именно в этом. Перед тем как это сделать, нам нужно будет отметить, какое обновление необходимо установить. Для этого:
- Нажмите Windows key + I одновременно.
- Затем перейдите в Обновление и безопасность.
- В правой части окна выберите Просмотр журнала обновлений.
- После этого найдите и запишите самое последнее обновление КБ (вверху списка).
- Затем загрузите записанное обновление из Microsoft Update Catalog.
7. Используйте Media Creation Tool.
Гарантированный способ установки обновлений — через Media Creation Tool. Это официальная утилита Microsoft, позволяющая пользователям обновлять свои системы до последней доступной версии. Не волнуйтесь, эта процедура не удалит ваши личные данные, а просто обновит компьютер. Для этого выполните следующие действия:
- Для начала, вам нужно скачать утилиту с веб-сайта Microsoft.
- Затем запустите загруженный файл.
- После соглашения с Правилами использования, вы увидите два варианта на выбор. Выберите Обновить этот компьютер сейчас.
- Выберите Сохранить личные файлы чтобы они не пострадали.
- Наконец, запустите процесс и дождитесь его завершения.
- Надеемся, этот метод помог вам избавиться от ошибки 0x80073701.
Заключение
Это руководство содержит все шаги, которые были протестированы и доказали свою эффективность в решении ошибки 0x80073701. Обычно наиболее оптимальным решением является переустановка системы Windows с нуля, но это вовсе не обязательно для решении проблем с обновлением. Кроме того, если когда-нибудь в будущем вы столкнетесь с другими проблемами, связанными с обновлением, вы можете использовать те же шаги, чтобы исправить всплывающие ошибки. На нашем веб-сайте вы можете найти статьи, посвященные другим ошибкам, а также удалению вредоносных программ и защите системы.
- Remove From My Forums
-
Question
-
Hy,
I’m configuring a series of windows server 2012 r2 machines for an industrial SCADA system.
A component of the SCADA software requires .net 3.5 to be installed. Now when I try to add the role in the server manager I get the error:
“The request to add or remove features on the specified server failed. Installation of one or more roles, role services, or features failed. The referenced assembly could not be found. Error 0x80073701”
This server should be about identical to one other in the set where the installation went without a problem.
What have I tried:
—
Add role via server manager with specifying the sources/sxs path (direct to several install dvd’s and coping the folder locally from different sources)—
Using the PowerShell to run “Install-WindowsFeature –name NET-Framework-Core –source D:sourcessxs” and “DISM /Online /Enable-Feature
/FeatureName:NetFx3 /All /LimitAccess /Source:d:sourcessxs” both resulting in error.—
I previously encountered another problem (different error) installing .net 3.5 on one of the other servers. Removing the language packs solved the problem.https://social.technet.microsoft.com/Forums/windowsserver/en-US/2df1f6d3-b6dd-4bac-85c3-c643174eca0d/unable-to-add-net-35-sp1-on-windows-server-2012-r2?forum=winserver8gen
But when I try to do that on this machine I get an error after executing lpksetup and clicking install/uninstall display languages: “The application has requested the Runtime to terminate in an unusual way. (Same result in safe
mode) Maybe this is related to the problem?—
Sfc scannow” comes up clean—
“Dism /online /Cleanup-Image /RestoreHealth /Source:D:sourcessxs” gives the error: the source files could not be downloadedThe servers are offline so I don’t have direct access to windows update.
Here are the collected log files: https://www.dropbox.com/s/ioryxm9it663nzl/vslogs.zip?dl=0
Thanks for the help
Answers
-
Hy,
I do appreciate the kind help I got here. Many thanks!
I decided yesterday to cut my loses and reinstall, at this point it seems the fastest solution.
Immediately after the reinstall I tried to add the .net 3.5 role and it failed the same way as the other servers which suggested I had
to remove the language packs, fortunately this worked again and the .net 3.5 role installed without a problem.It seems odd to me that the .net feature has problems with language packs of a freshly installed OS (windows server 2012 r2 ROK HPE). I thought at first
that the SCADA software I installed before adding the feature (I didn’t knew I needed .net 3.5) caused my problems, but now I have proven that this is not the case.However I still got quite some configuring to do, all seems to work for now.
I guess the language pack was the problem but I don’t know what caused the «referenced
assembly could not be found» or the “The application has requested the Runtime to terminate in an unusual way» errors. So if anyone has suggestions for people who stumble upon this post, feel free to reply to help them out!One suggestion I could give is to add the .net 3.5 feature as soon as possible after a fresh install if you remotely
think to need it. This will prevent headaches in the future.-
Marked as answer by
Wednesday, May 25, 2016 1:33 PM
-
Edited by
8Bart
Wednesday, May 25, 2016 1:34 PM
-
Marked as answer by
Перейти к содержанию
На чтение 2 мин. Просмотров 554 Опубликовано 02.05.2021
В Windows 10 ряд пользователей пытаются установить .NET Framework 3.5 и сталкиваются с проблемой. При установке .NET 3.5 с помощью DISM возникает ошибка 14003 и некоторая ошибка Microsoft-Windows-NetFx3-OnDemand-Package 0x800736b3. Вот что вы можете сделать, чтобы этого избежать.
Код ошибки 0x800736b3 указывает на то, что Хранилище компонентов в Windows 10 повреждено. Это соответствует текстовому сообщению ERROR_SXS_ASSEMBLY_NOT_FOUND.
[========================== 100.0 % ==========================]
Произошла ошибка – Microsoft-Windows-NetFx3-OnDemand-Package Ошибка: 0x800736b3Ошибка: 14003
Указанная сборка не установлена в вашей системе.
Я заметил, что большинство пользователей, которые сталкивались с эта проблема пыталась установить .NET Framework 3.5 в Windows 10 с помощью следующей команды:
dism/online/add-package/packagepath: D: sources sxs microsoft-windows-netfx3-ondemand -package.cab
Здесь D: буква диска установочного носителя Windows 10.
Чтобы решить эту проблему, сначала попробуйте установить .NET Framework 3.5 как описано в следующей статье: Автономная установка .NET Framework 3.5 в Windows 10 с использованием DISM .
В упомянутой статье команда отличается.
Если вы по-прежнему не можете установить .NET framework 3.5 и получаете ту же ошибку, это означает, что вам нужно для восстановления хранилища компонентов.
Выполните следующие действия:
- Откройте командную строку с повышенными привилегиями.
- Введите следующую команду и нажмите клавиша Enter :
Dism/Online/Cleanup-Image/StartComponentCleanup
- Затем введите следующую команду и нажмите Enter key:
Dism/Online/Cleanup-Image/RestoreHealth
Это должно решить проблему, и вам следует иметь возможность установить .NET Framework 3.5 в Windows 10.
‘);
На чтение 4 мин Просмотров 2.1к. Опубликовано 04.10.2022
Полное руководство по Windows 10
Некоторые пользователи сообщали о сбое обновления с сообщением об ошибке — Ошибка обновления. Были проблемы с установкой некоторых обновлений, но мы попробуем позже. Код ошибки вместе с этим сообщением: 0x80073701. В этом посте мы рассмотрим возможные решения проблемы с установкой обновлений Windows — ошибка 0x80073701. Вы также можете увидеть код ошибки 0x800f0988.
Ошибка 0x80073701: ERROR_SXS_ASSEMBLY_MISSING; это означает, что отсутствуют некоторые системные файлы, что привело к сбою установки обновления.
Как исправить ошибку 0x80073701
Хотя ошибка 0x80073701 не вызывает каких-либо серьезных проблем, о ней сообщается в разделе Центра обновления Windows и помечается как Ошибка обновления. Если вы столкнулись с этой проблемой, попробуйте эти способы.
Запустите инструмент DISM
Microsoft выпустила обновление KB4497935, которое решает эту проблему в Windows 10. Но если вы все еще сталкиваетесь с этой проблемой, KB4528159 рекомендует запустить инструмент DISM.
Обслуживание образов развертывания и управление ими (DISM.exe) — это средство командной строки, которое можно использовать для обслуживания образа Windows. С помощью этого инструмента вы можете исправить поврежденные системные файлы. Откройте командную строку с правами администратора и выполните команду:
Dism /Online /Cleanup-image /Startcomponentcleanup
Перезагрузите компьютер.
Запустите средство проверки системных файлов
Запустите SFC, чтобы проверить наличие повреждений в существующих системных файлах. Эти файлы необходимы для правильного функционирования Windows. SFC неплохо справляется с заменой отсутствующих или поврежденных файлов. Вы можете выполнить их из расширенного восстановления, если вы не можете загрузиться в Windows, чтобы выполнить эту команду.
Откройте командную строку и выполните следующую команду.
sfc/scannow
Перезагрузите компьютер.
Очистите папку распространения программного обеспечения
Очистите папку SoftwareDistribution. Запустите командную строку от имени администратора. В поле CMD, которое появляется на экране компьютера, введите следующие текстовые строки по одной за раз и нажмите Enter.
net stop wuauserv
net stop bits
Теперь перейдите в папку C:WindowsSoftwareDistribution и удалите все файлы и папки внутри.
Если файлы используются, перезагрузите устройство. После перезагрузки снова запустите приведенные выше команды. Между прочим, ваше приложение Магазина Windows должно быть закрыто, поэтому не запускайте его.
Теперь вы сможете удалить файлы из указанной папки Software Distribution. Теперь в окнах командной строки введите следующие команды по одной и нажмите Enter:
net start wuauserv
net start bits
Перезагрузите. Если вы используете Центр обновления Windows, попробуйте использовать Центр обновления Майкрософт или наоборот.
Запустите Центр обновления Windows в состоянии чистой загрузки
Загрузитесь в состоянии чистой загрузки и запустите Центр обновления Windows и посмотрите, поможет ли это. Это работает в большинстве случаев.
Проверьте журналы и удалите исправления
CBS означает обслуживание на основе компонентов. CBS.log — это файл, который включает журналы о компонентах, когда они устанавливаются или удаляются во время обновлений. Если вы видите какие-либо неудачные обновления в журналах CBS, лучше всего удалить исправления, в которых отсутствовали сборки.
Когда вы открываете журналы CBS, найдите слова «ERROR_SXS_ASSEMBLY_MISSING» и проверьте, есть ли какое-либо обновление базы знаний, связанное с ним. Удалите его и переустановите с помощью Центра обновления Windows.
Если ошибки нет, то мы предлагаем вам выполнить команду:
Dism /Online /Cleanup-Image /ScanHealth
Параметр /ScanHealth проверяет наличие повреждений хранилища компонентов. Он записывает это повреждение в C:WindowsLogsCBSCBS.log, но с помощью этого переключателя никакое повреждение не устраняется. Это полезно для регистрации того, какие существуют повреждения, если таковые имеются.
Ошибка 0x80073701 не нова. Это всегда было связано с ошибкой обновления и повреждения файла. Ошибка была связана с журналами CBS, которые указывали на отсутствующие сборки во время установки пакета обновления.