In order to play an Xvid video, you need a computer program called Codec. Without a codec, you will come across an error message stating that an XviD codec may be required to view video while playing the video. Fortunately, there is a way to resolve the Xvid codec error message. This article talks about what causes the Xvid codec error, and how to fix the problem. Read the complete article to know more.
What is Xvid codec?
Xvid codec is an open-source platform that compresses videos based on the MPEG-4 ASP standard. This video file format is used to play the movies in high quality. Because of its high quality and low file size, it is a quite popular video format. Despite having a higher compression ratio, you can rely on Xvid to produce videos with high picture quality.
But, sometimes due to notable usage of the Xvid file errors are quite common which will result in Xvid video file corruption. In this article, we will discuss how to fix the Xvid codec errors.
What causes XVID Codec error?
There are various possible reasons behind the XVID codec error. Some of the causes are –
- XVID video codec corruption
- Damaged Windows media preview driver
- Missing system files
- Incomplete installation of the media player
Few other reasons for Xvid codec error include – unstable system, improper maintenance of computer, malware activity, etc. When you come across the Xvid codec error, you will find changes in the system’s behavior thereafter.
You might be unable to play videos on the computer, or even if you did, you would come across choppy videos, video with no sound, etc.
How to play videos by fixing the Xvid Codec error
In order to fix the Xvid codec error, follow these to manually repair the error –
- Firstly, update the Xvid codec, for this, you have to download and install the codec on your computer.
- Next, update the entire Windows OS driver to the latest version
- If your PC is infected with viruses or malware, remove it by installing an antivirus. This can remove the virus from the infected video file, that is showing codec error
- Try playing the video with another media player. Sometimes, an updated media player can help you to play videos without showing Xvid codec error.

These above-mentioned methods will help you resolve the Xvid codec error. The manual methods listed above will fix the Xvid codec errors. In most of the cases, the Xvid codec error will be fixed after updating the media player with the codec.
However, if you are not able to play the Xvid video even after performing the above troubleshooting steps, chances are that the video file might be corrupted. However, you can fix the corrupted video by using an Xvid video repair tool.
Fix XVID Codec Error using Remo Video Repair
Remo Video Repair tool fixes Xvid codec error issues effortlessly. It works on read-only mechanisms which only extract data from the corrupt .xvid file. The application separates the audio-video streams, fixes the issue, and later adjoins the streams to create a playable Xvid video. Hence, with this powerful application, not only does the original corrupt file remains unmodified but you will also have a healthy playable video file.
Steps To Fix Xvid Codec Error
Conclusion
The methods given in the above article will help you resolve the Xvid codec error message. Additionally, make sure you clean junk files from your system, remove unwanted apps, and defrag hard drive to avoid such errors in the future. If you are not able to play the video, there might be corruption in the video file. In such cases, use the Remo video repair tool to fix the corrupted Xvid file.
What is XviD Codec?
Xvidcore.dll is installed on your Windows computer when you install the XviD codec. You need to install this codec in order to play the XviD movies on your system. After installing the codec, you can play your XviD movie and video files using any media player that currently exists on your computer. XviD codec has been developed as an open source and is based on MPEG-4 video compression technology.
Causes and Resolution of Xvidcore.dll Error
You may receive the “Xvidcore.dll not found” error, when you are trying to run a XviD movie or video using a media player such as Winamp or Windows Media Player. Let’s now investigate the common causes and the methods you can use to fix the problem.
XviD Codec Is Not Installed on Your Computer
If you do not have the XviD codec on your computer, you will not be able to play an XviD movie or video files. In this case, to resolve the error, you will have to download the latest version of the XviD codec on your computer from the XviD website and then run your XviD file.
Missing or Corrupt Xvidcore.dll
There can be many different causes of missing or lost DLLs. Some of the causes are listed below.
- The simplest cause that may lead to a missing DLL is that the DLL was deleted by mistake. This may happen if a user is trying to remove a file with a similar name and deletes one of the important DLL files. Many times, DLLs go missing when some another application overwrites the existing DLL with an older version of the DLL.To fix the missing DLL error, you must search for the latest Xvidcore.dll on the Internet and download it to your computer. Copy the DLL into the directory where it was originally located and then register the DLL again using the Regsvr32 command. To do this, select Start > Run and the type “Regsvr32 /i <DLL_Full_Name> and press Enter. If this does not fix the error, download the XviD codec again from the XviD website and reinstall the codec.
- Registry problems are one of the major causes of errors related to DLLs. Whenever, an application or a utility is installed on your computer, its DLLs are registered in the registry. The registry is the backbone of your Windows PC, it works hard to provide all the required information to enable your PC to operate as desired. In the process, a large amount of information is added to or removed from the registry. This leads to uncontrolled growth of the registry that may eventually corrupt and fragment the registry. In due course, this damages the registry and may corrupt various entries added to it and cause frequent system errors and crashes.To fix these problems, you will need to scan the registry for errors and remove them. To do this, you may use a registry cleaner software such as RegServe. This tool provides you with simple-to-use options that helps you automatically scan and repair registry errors. This tool will also help you in compressing the registry and thus, optimizing the performance of your PC.
- Spyware and backdoors are also a major cause of concern. These malicious programs gain access to your PC and plant DLLs and files with names similar to or the same as existing or other legitimate Windows files.To prevent these malware infestations, you must keep the antivirus and antispyware software on your computer updated with the latest definitions and run regular scans to identify and remove malicious files or processes from your computer.
Taking good preventive measures and being vigilant of what you open and run on your computer will help you keep it free from errors.
Xvidcore.dll is a file used by the “Xvid Codec” (a popular Windows video codec that allows you to watch movies in high quality on your system). The Xvid codec is widely used to play “xvid” movies, which are extremely popular on the Internet for their small size and top quality… but it’s often the cause of a lot of errors, including “Xvidcore.dll Not Found“.
What Causes Xvidcore.dll Errors?
The error you will typically get with Xvidcore.dll is “Xvidcore.dll Not Found” or “Xvidcore.dll Is Missing”. These suggest a range of common problems which are actually quite easy to fix if you follow a simple method. The causes of this error are as follows:
- The Xvid codec is incorrectly installed on your PC
- The Xvid codec is not installed on your PC
- The Xvidcore.dll file is corrupt
- Viruses have infected the xvidcore.dll file
- Your computer has registry issues causing the xvidcore.dll file to become unreadable.
How To Fix Xvidcore.dll Errors
Step 1 – Install Or ReInstall The Xvid Codec On Your PC
– Download The Xvid Codec From Here
The Xvid Codec is a free download that you can get from the Internet and can be installed on any Windows system. If you don’t have the codec installed, then you won’t be able to play any movies encoded in the Xvid format… however, if you do have the codec installed, you should reinstall it to make sure there are no problems with the files it needs to run.
If You Do Have Xvid Installed
- Click on Start > Control Panel > Add / Remove Programs
- Locate Xvid Codec
- Click “Uninstall”
- Follow The On-Screen Instructions
- Restart Your PC
- Use the new Xvid installer download to install a new copy of Xvid
- Restart your PC
If You Do Not Have Xvid Installed Already
- Use the new Xvid installer download to install a new copy of Xvid
- Restart your PC
Step 2 – Manually Download The Xvidcore.dll And Replace It On Your PC
It’s often the cause that the xvidcore.dll file will become corrupted or damaged on your system, and in order to get it functioning properly again, it’s best to restore the original icfgnt.dll file from a reputable online DLL file directory. To do this, you should follow this method:
1) Download xvidcore.zip from our server
2) Unzip the new xvidcore.dll file onto your computer’s hard drive
3) Browse to c:WindowsSystem32
4) Locate the current xvidcore.dll on your system
5) Rename the current xvidcore.dll to xvidcoreBACKUP.dll
6) Copy & paste the new xvidcore.dll into C:WindowsSystem32
7) Click Start > Run (Or search”run” on Vista & Win7)
8 ) Type “cmd” in the box that appears
9) Type “regsvr32 xvidcore.dll” on the black screen
10) Press enter
11) Try watching your movie again
This will replace the current xvidcore.dll file on your PC and will put a new file in its place. This will make your system much better able to read the file, as in many cases, it’s a corrupt or damaged version of icfgnt.dll which will make it unable to be read properly. This method should work for many people but if it did not for you, then you can use method #3 below:
Step 3 – Clean Out Viruses
– Download This Virus Scanner
Antivirus programs are software tools which scan through your PC and remove any of the viruses or malware infections that are on your system. It’s often the case that viruses will infect various DLL files on your computer and then cause them to be unreadable to your PC. To ensure this is not happening on your computer, you should try using an antivirus program to scan through your system and remove any of the infections that cause all these errors. You can download our recommended antivirus program from the link above, but there are a large variety of programs available.
Step 4 – Clean The Registry
– Download This Registry Cleaner
The ‘registry’ is a big database inside Windows which keeps a large list of references for the DLL files on your system. This central database is where Windows keeps a list of the DLL file locations for your computer, and is where your system looks each time it wants to use a dll file such as xvidcore.dll. Unfortunately, it’s prone to becoming damaged and corrupted and is constantly being unable to read the files and references that it needs to open the files that it wants. This is a major problem that causes a lot of damage to many different parts of your system. Running a registry scan will remove all the damaged references inside the registry, allowing it to run as quickly and smoothly as possible. You can see our recommended registry cleaner below:
Содержание
- Способ 1: K-Lite Codec Pack
- Способ 2: Media Player Codec Pack
- Способ 3: Xvid Codec
- Вопросы и ответы

Способ 1: K-Lite Codec Pack
K-Lite Codec Pack является наиболее полным и продвинутым пакетом кодеков для использования на «семёрке» – в нём присутствуют абсолютно все необходимые элементы, чтобы даже редкие видеоформаты работали в практически любом подходящем проигрывателе. Мы уже рассматривали процедуру установки этого ПО, поэтому за подробностями обратитесь к материалу по ссылке далее.
Подробнее: Загрузка и установка K-Lite Codec Pack на Windows 7
Способ 2: Media Player Codec Pack
Альтернативой вышеупомянутому решению будет сборка Media Player Codec Pack. Несмотря на название, этот набор подходит для всех видеоплееров.
Скачать Media Player Codec Pack с официального сайта
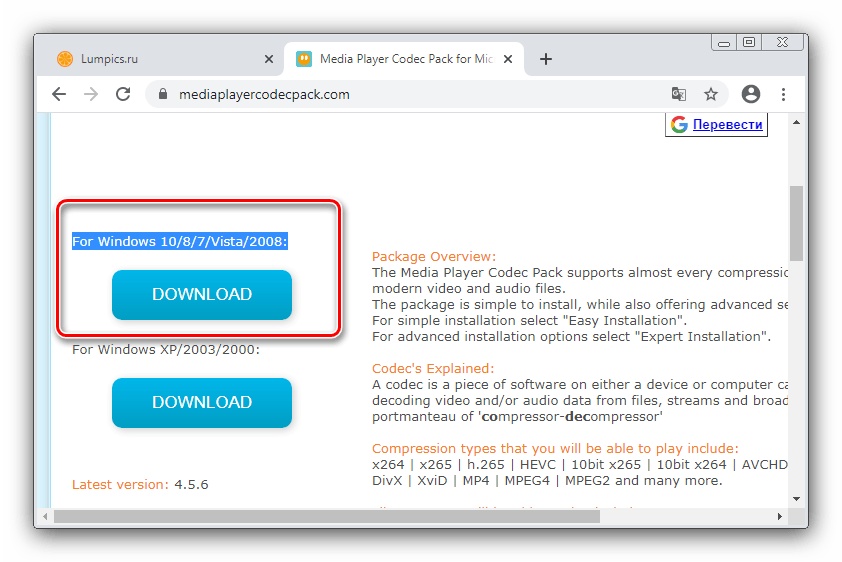
- На ресурсе кодекпака присутствуют две версии – одна для устаревших Виндовс, другая для более современных. «Семёрка» по мнению разработчиков относится к последним, поэтому загрузите вариант, соответствующий этой категории – нажмите «Download» под текстом «For Windows 10/8/7/Vista/2008».
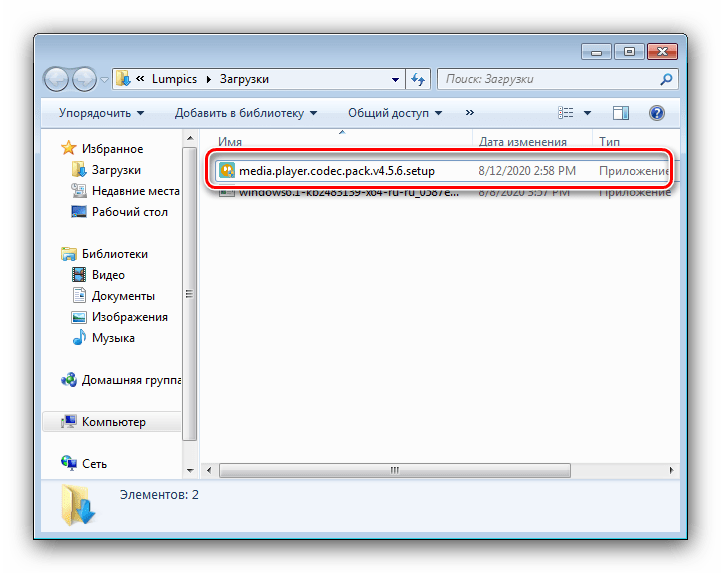
- Подождите, пока инсталлятор скачается, затем запускайте его прямо из окна браузера, либо перейдите в папку и откройте файл оттуда.
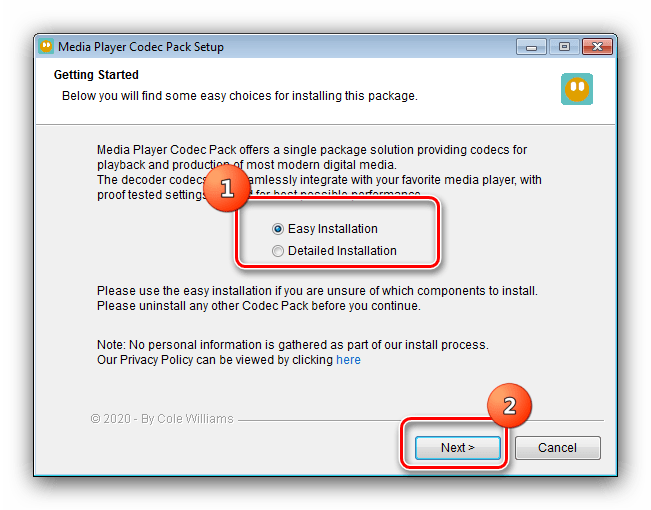
- На первом экране средства установки выберите вариант процедуры. В большинства случаев вполне достаточно «Easy Installation», поэтому рекомендуем выбирать именно его.
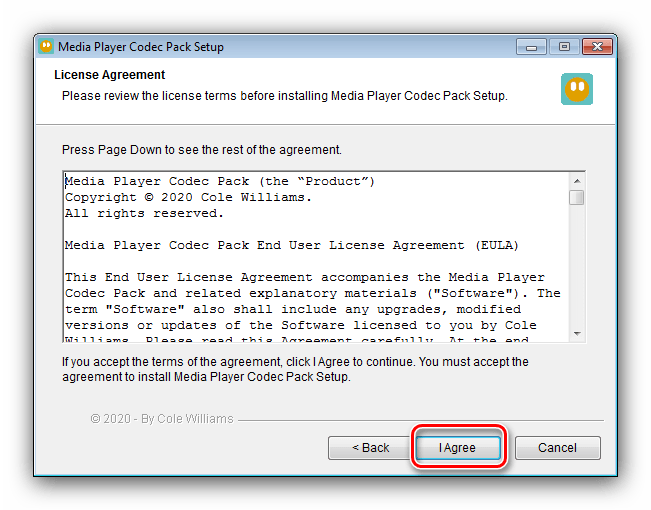
- Далее примите пользовательское соглашение.
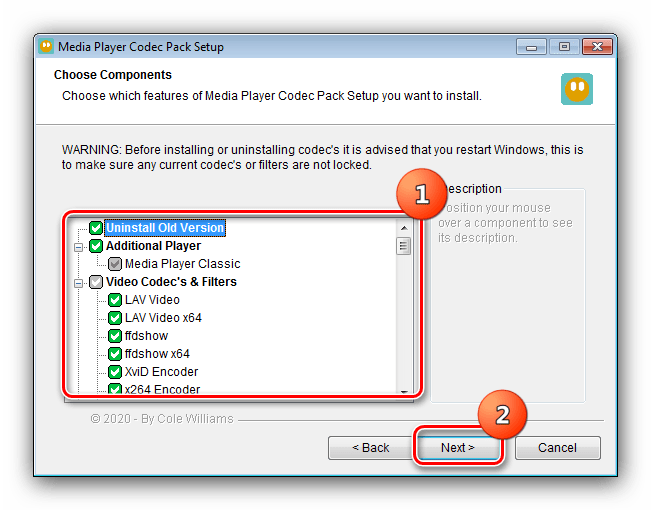
- В следующем окне можно самостоятельно выбрать, какие кодеки будут установлены. Опытным юзерам стоит обратить внимание на блок «Video Codecs & Filters», новичкам же лучше оставить опции по умолчанию.
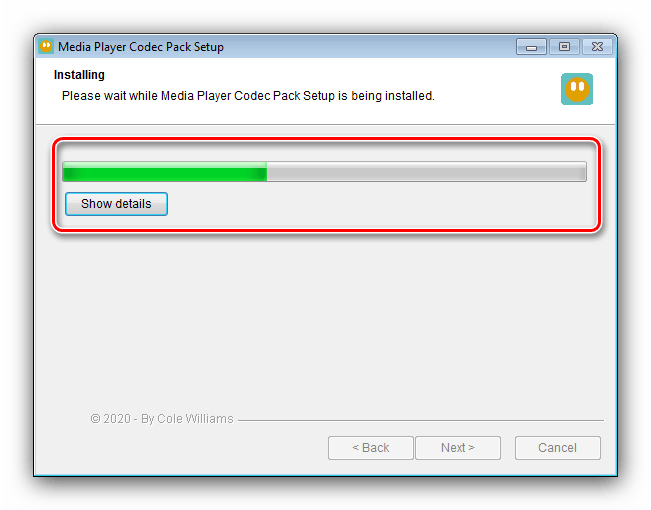
- Теперь начнётся установка кодеков – прогресс можно отследить по заполняющейся полоске.
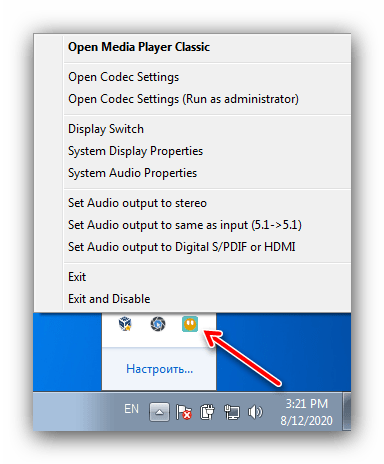
- По окончании операции инсталлятор закроется автоматически. Для управления установленными элементами откройте системный трей и воспользуйтесь соответствующим значком.
Данный кодекпак мало чем уступает К-Лайту, поэтому его смело можно использовать в случаях, когда последний по каким-то причинам не работает.
Способ 3: Xvid Codec
Подавляющее большинство видеороликов (музыкальные клипы, сериалы, кино), распространяемые в интернете, закодированы по стандарту MPEG-4 Pack 2. Хорошим кодеком для чтения таких файлов является Xvid, который можно скачать и установить отдельно.
Скачать Xvid Codec с официального сайта
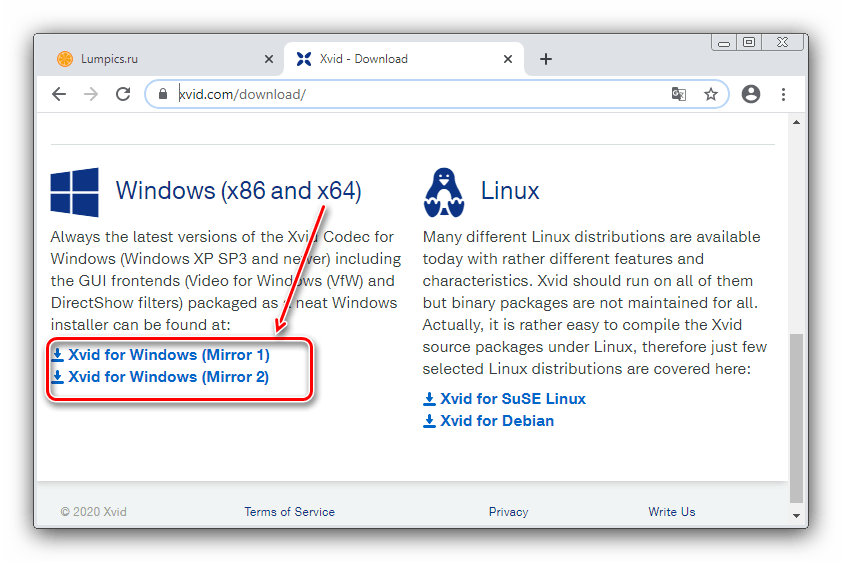
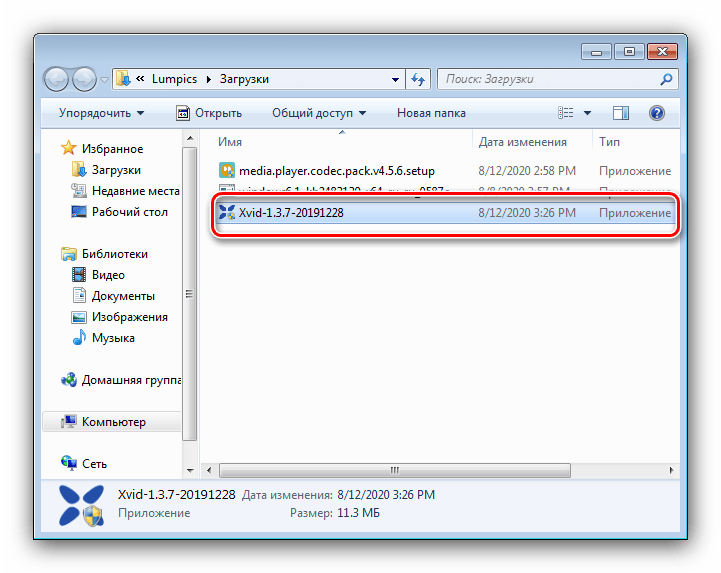
- Воспользуйтесь одной из ссылок раздела «Windows» для получения установочного средства кодека.
- Выполните действия, аналогичные шагу 2 предыдущего способа.
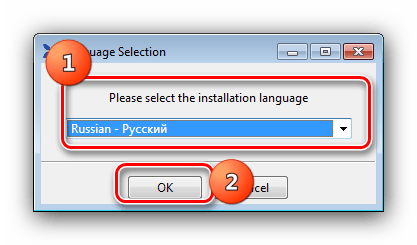
- Выберите язык, на котором будет отображаться инсталлятор, доступен и русский, затем нажмите «ОК» для продолжения.
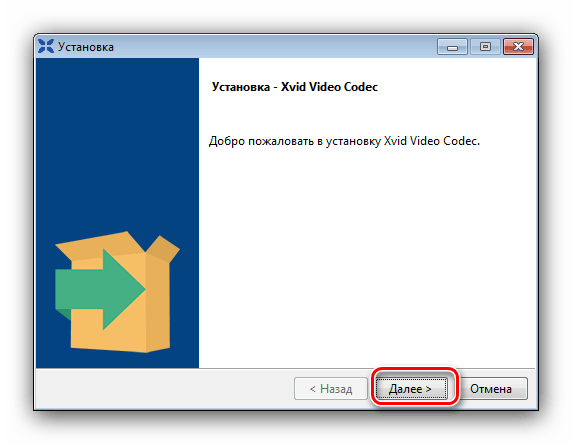
- В следующем окне кликните «Далее».
- Примите лицензионное соглашение.
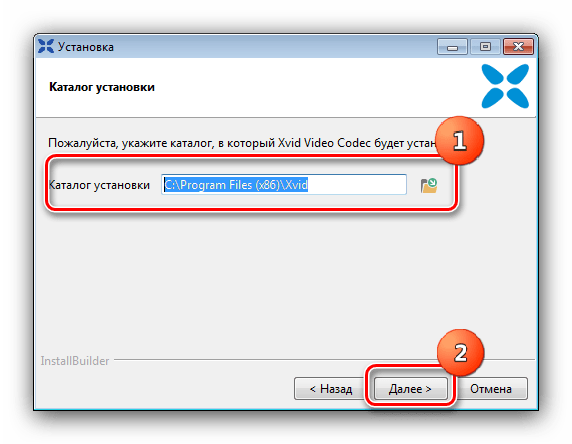
- Теперь выберите каталог установки – для стабильной работы желательно указывать диск, на котором находится операционная система.
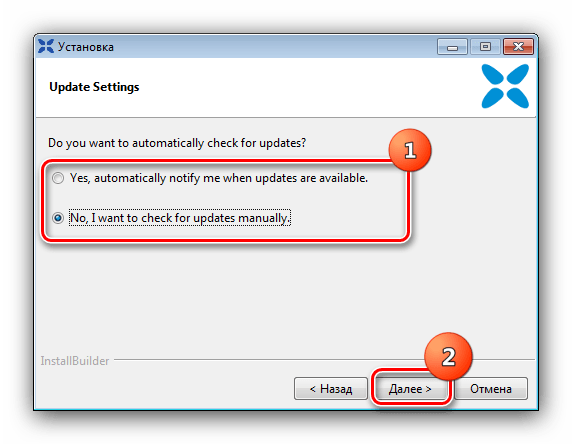
- Укажите, хотите ли вы получать обновления автоматически – если нет, отметьте нижний вариант.
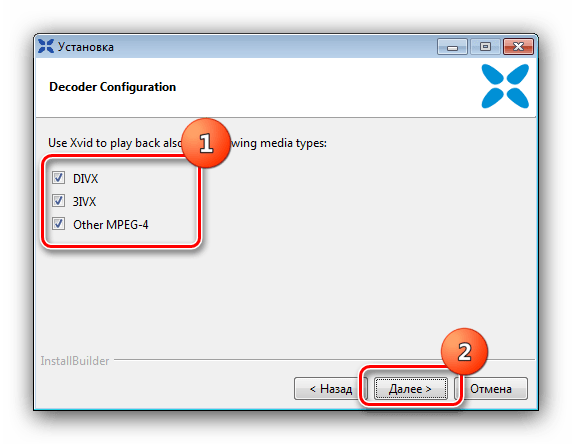
- Здесь нужно выбрать форматы, при воспроизведении которых будет задействоваться устанавливаемый кодек, рекомендуется указать все доступные.
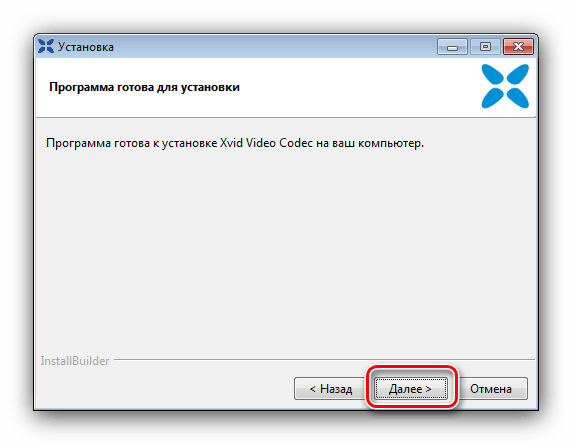
- Нажмите «Далее» для начала установки.
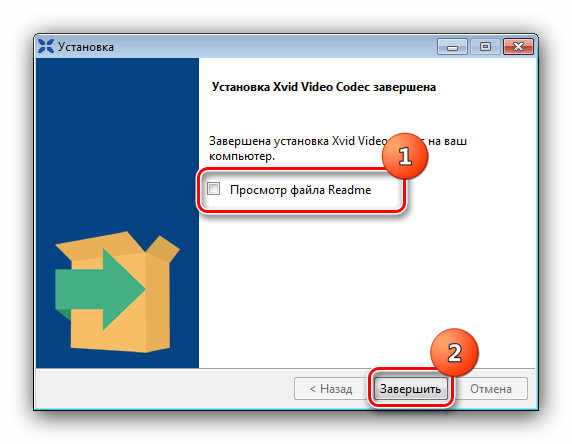
- Подождите, пока продукт будет инсталлирован на ваш компьютер. По окончании процедуры уберите отметку с опции «Просмотр файла Readme» и щёлкните «Завершить».


Как видим, тоже ничего сложного. Единственным недостатком этого решения можно назвать его специализацию – Xvid Codec ничем не поможет, если наблюдаются проблемы с воспроизведением файлов, закодированных не в MPEG-4 Pack 2.
Еще статьи по данной теме: